
Cluster Installation
If the system fails or reports an error during the installation process, click the
Reset Systembutton to terminate the current installation process and automatically reset to the first step.
Service Startup
After the environment installation is complete, the graphical installation wizard can be started.
Startup Script
wget -O start.sh https://product-deploy.titanai.cloud/admin/deploy/cluster/install/<Customer ID> && bash start.shNote: Customer ID needs to be replaced with your actual information. For details on obtaining the ID, see Official Website/Console/Basic Information.
Execution Complete
After executing the start.sh script, if the service starts successfully, you will see the following log example:
┌──────────────────────────────┐
  欢迎使用炎扉集群安装向导
  webui: 192.168.100.118:18001
└──────────────────────────────┘
Access the WebUI address displayed in the logs (e.g., 192.168.1.100.118:18001) to enter the installation wizard.
Note: The example address
192.168.1.100.118:18001is for reference only. The actual address should be based on the logs displayed when the service starts successfully on your local machine.
Network Deployment
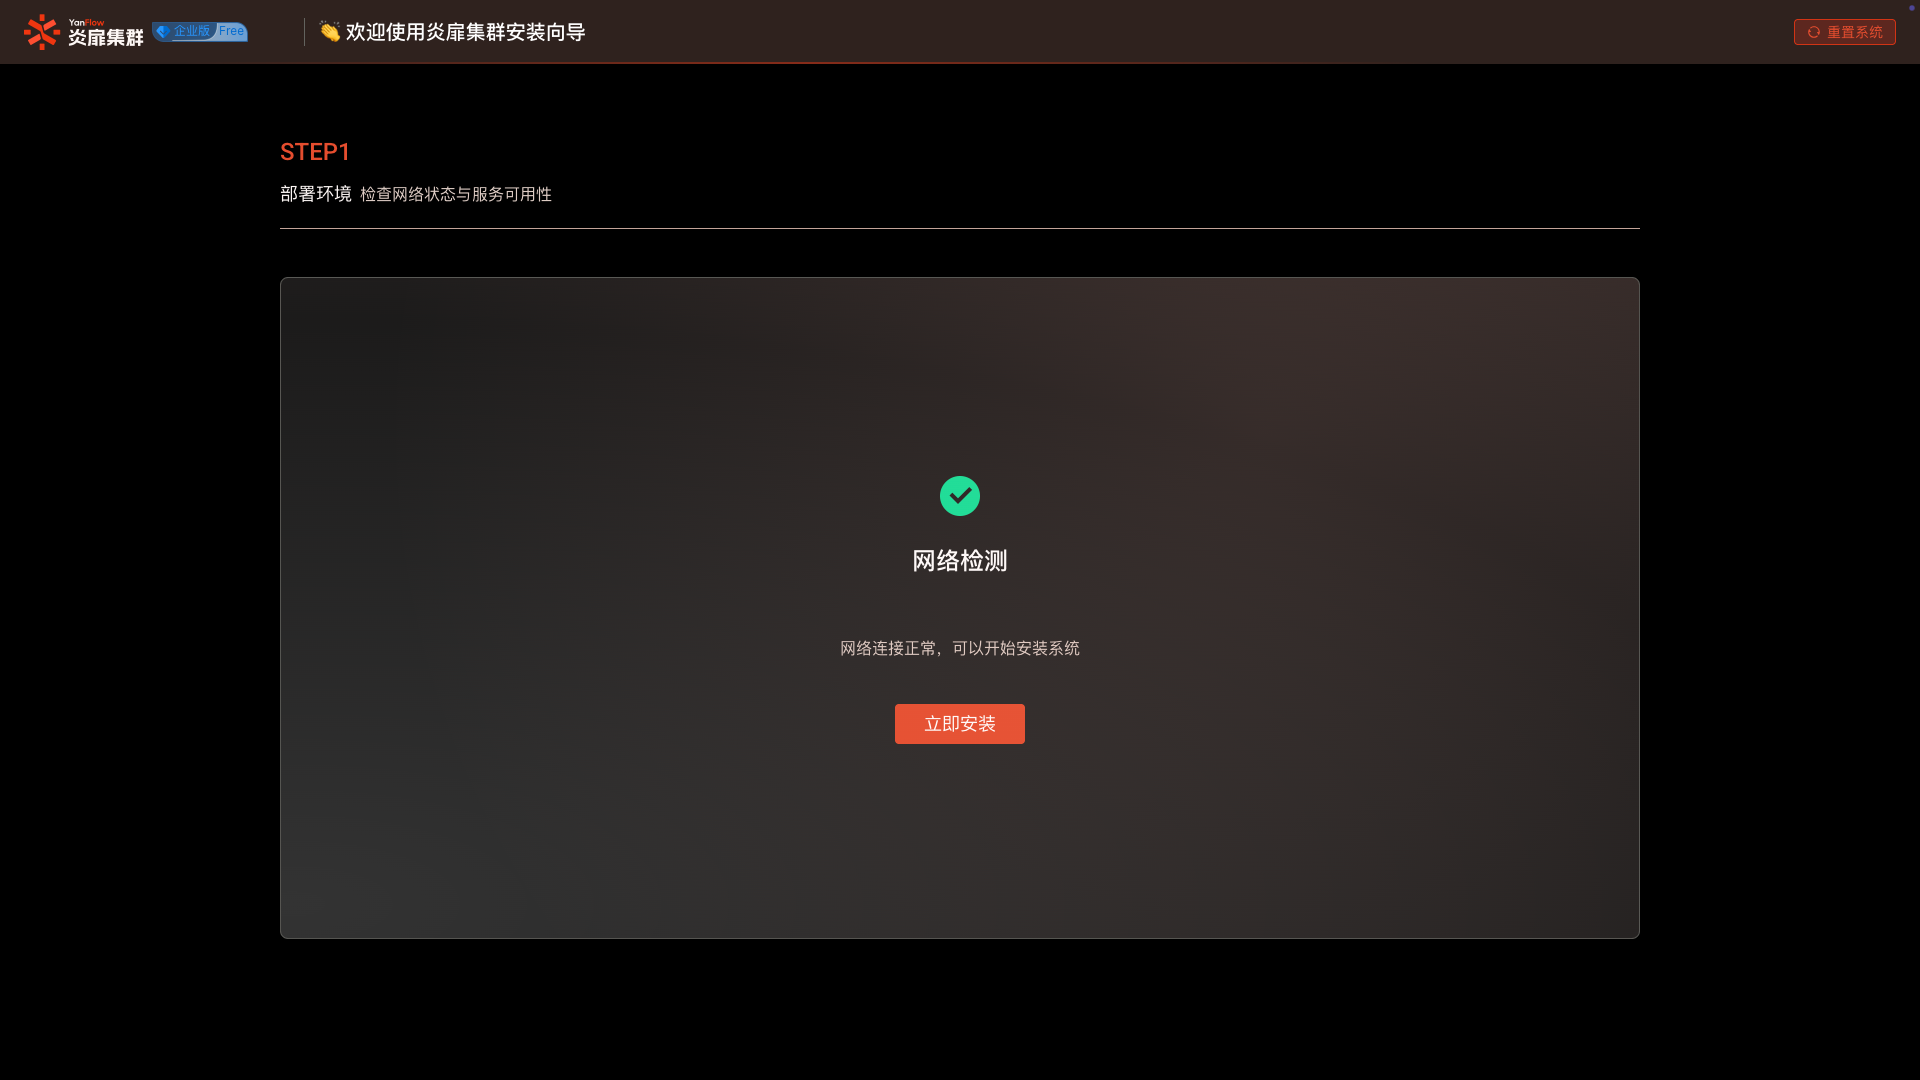
Network Detection
Automatically detect the network environment to ensure the network status can connect to the Internet. Click the Install Now button to start deploying the cluster.
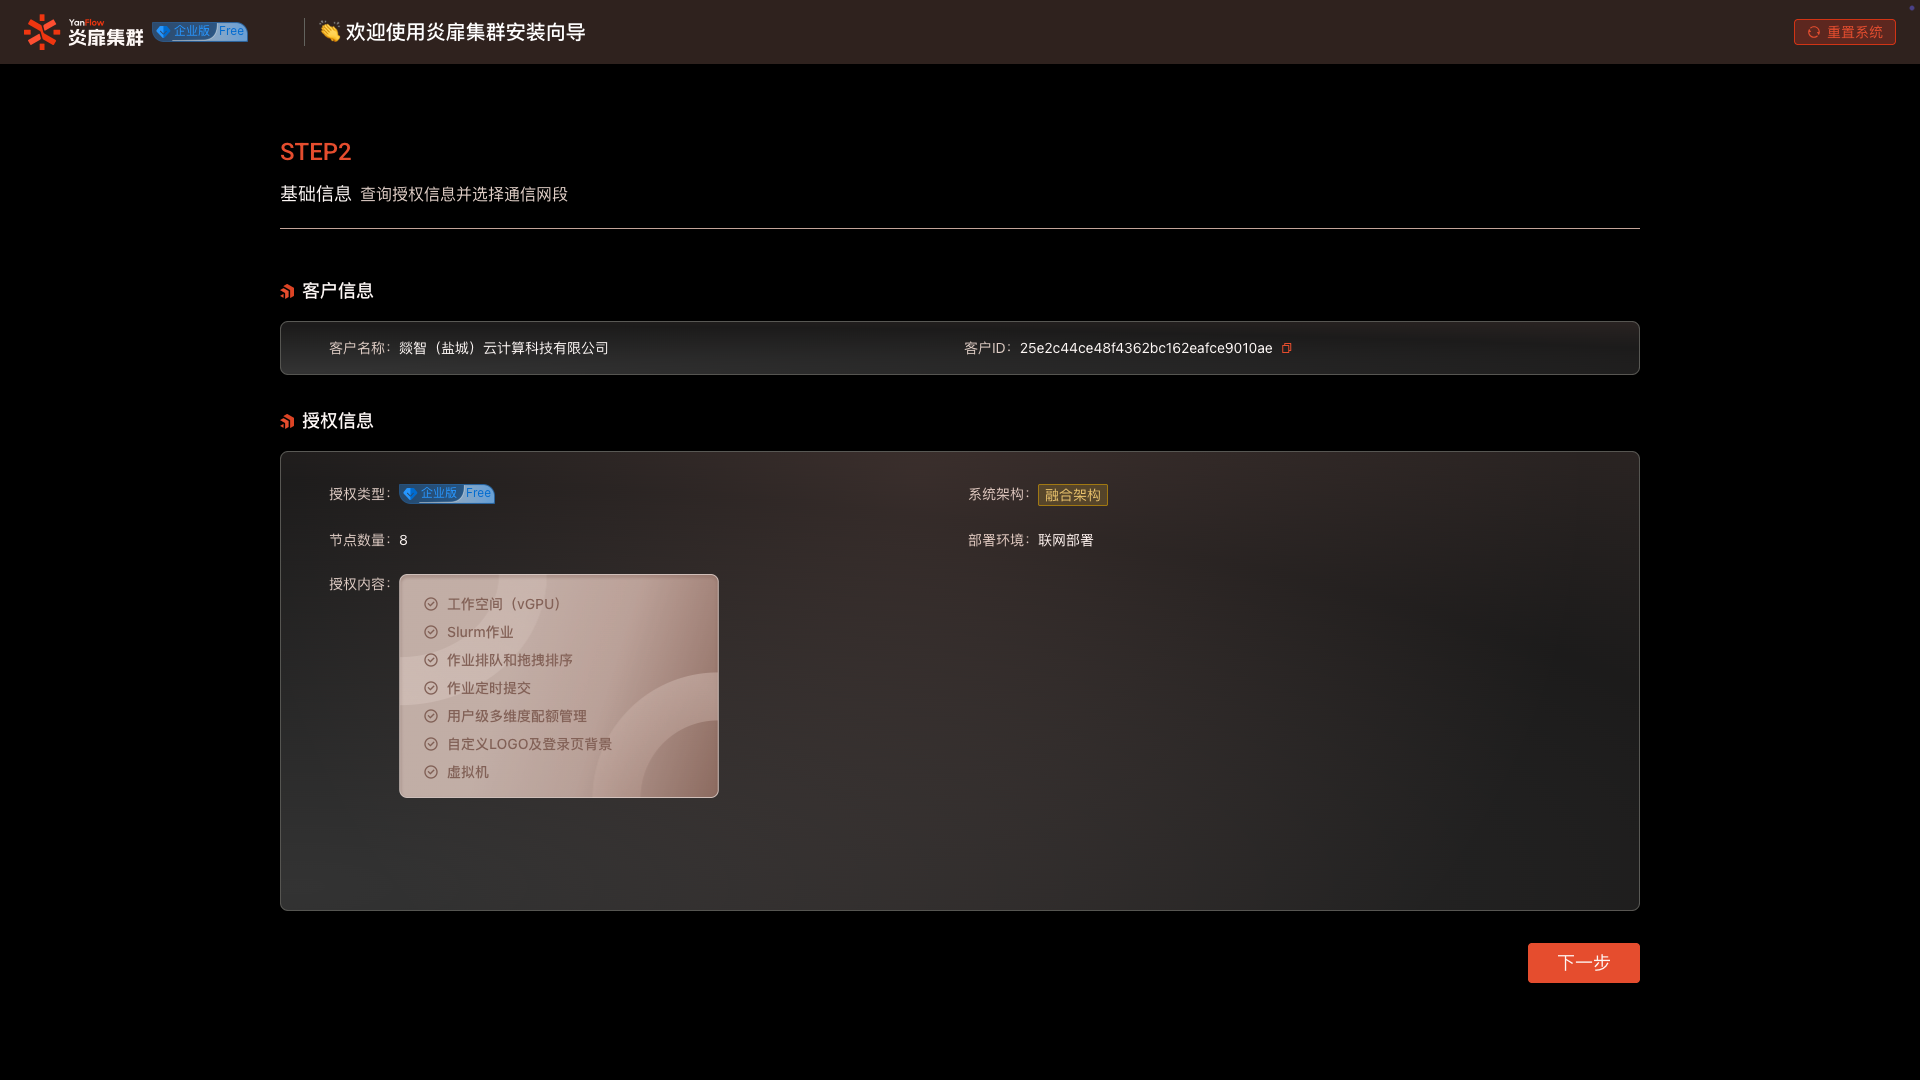
Basic Information
Obtain relevant basic information and confirm customer and authorization content.
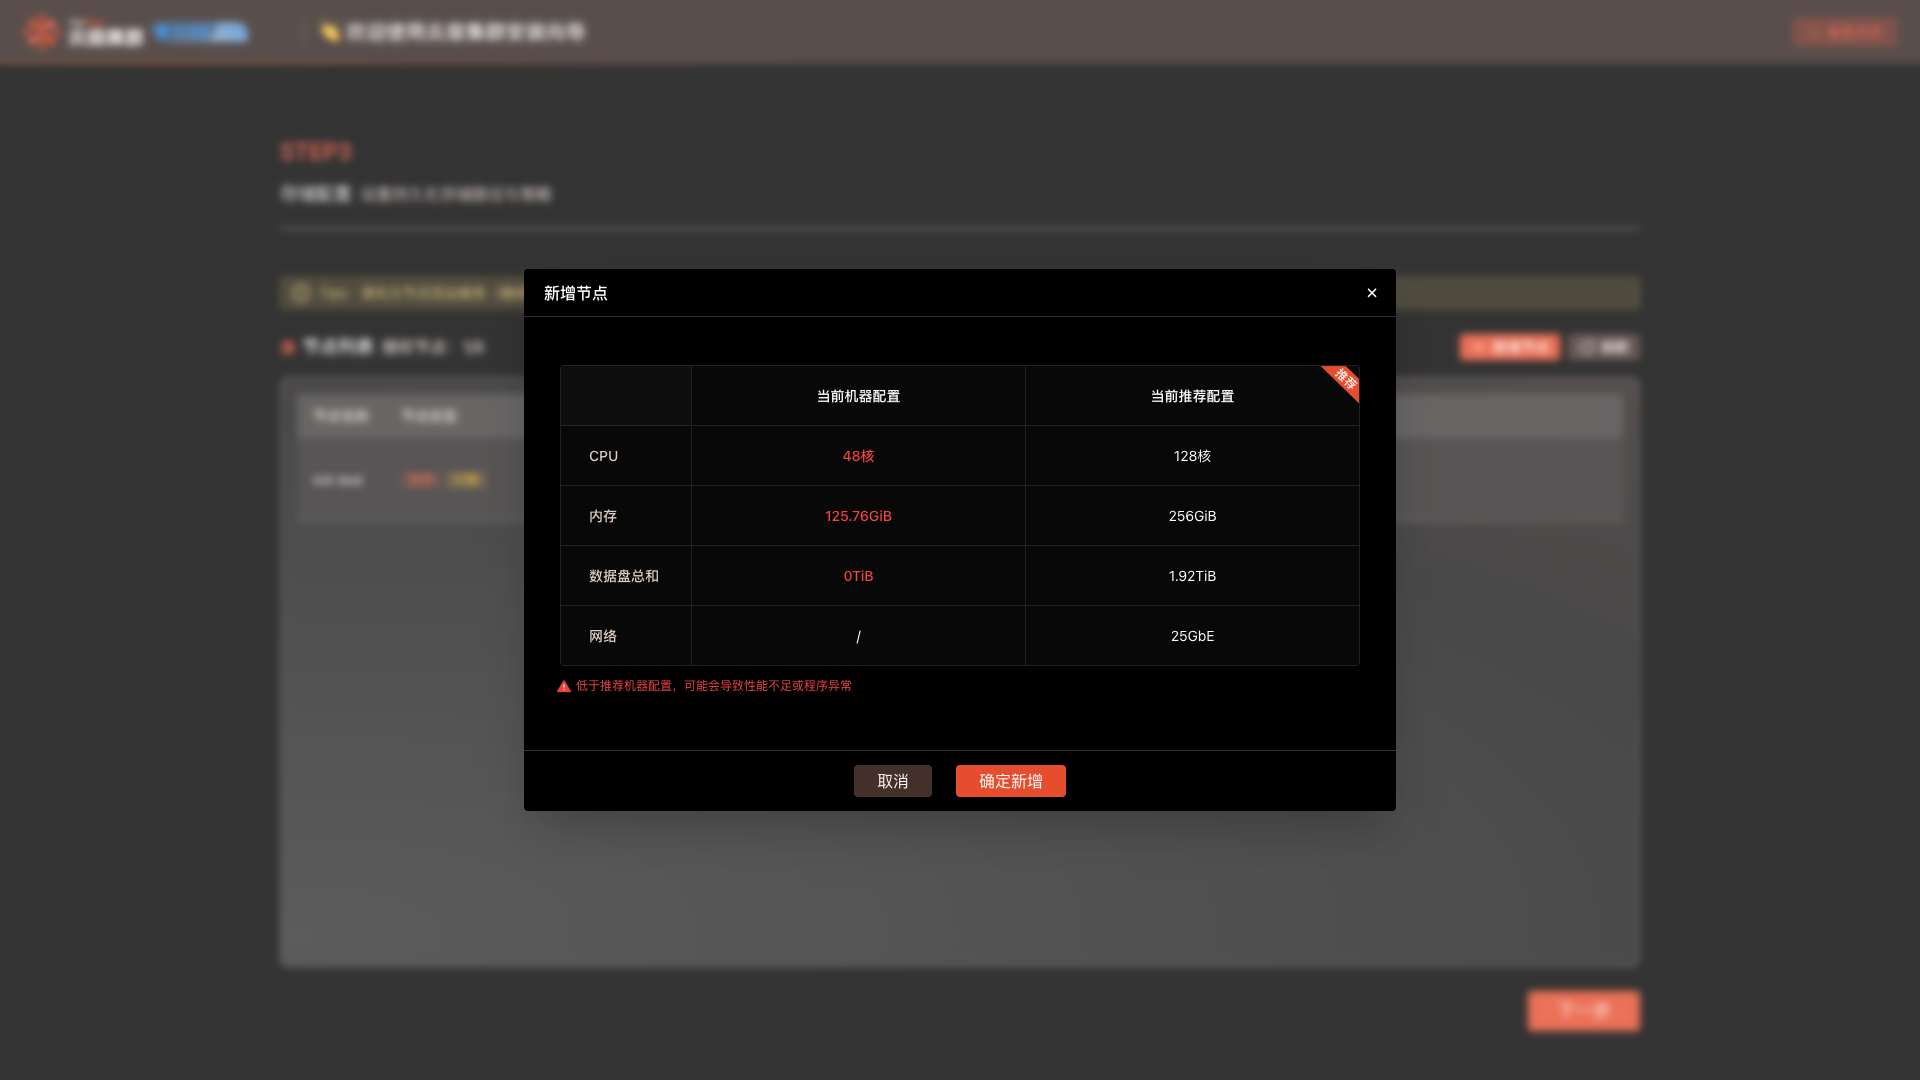
Click the Next button, select the communication subnet, and enter the root password. Click the Get Machine Configuration button to obtain the current machine's configuration and compare it with the recommended configuration requirements.
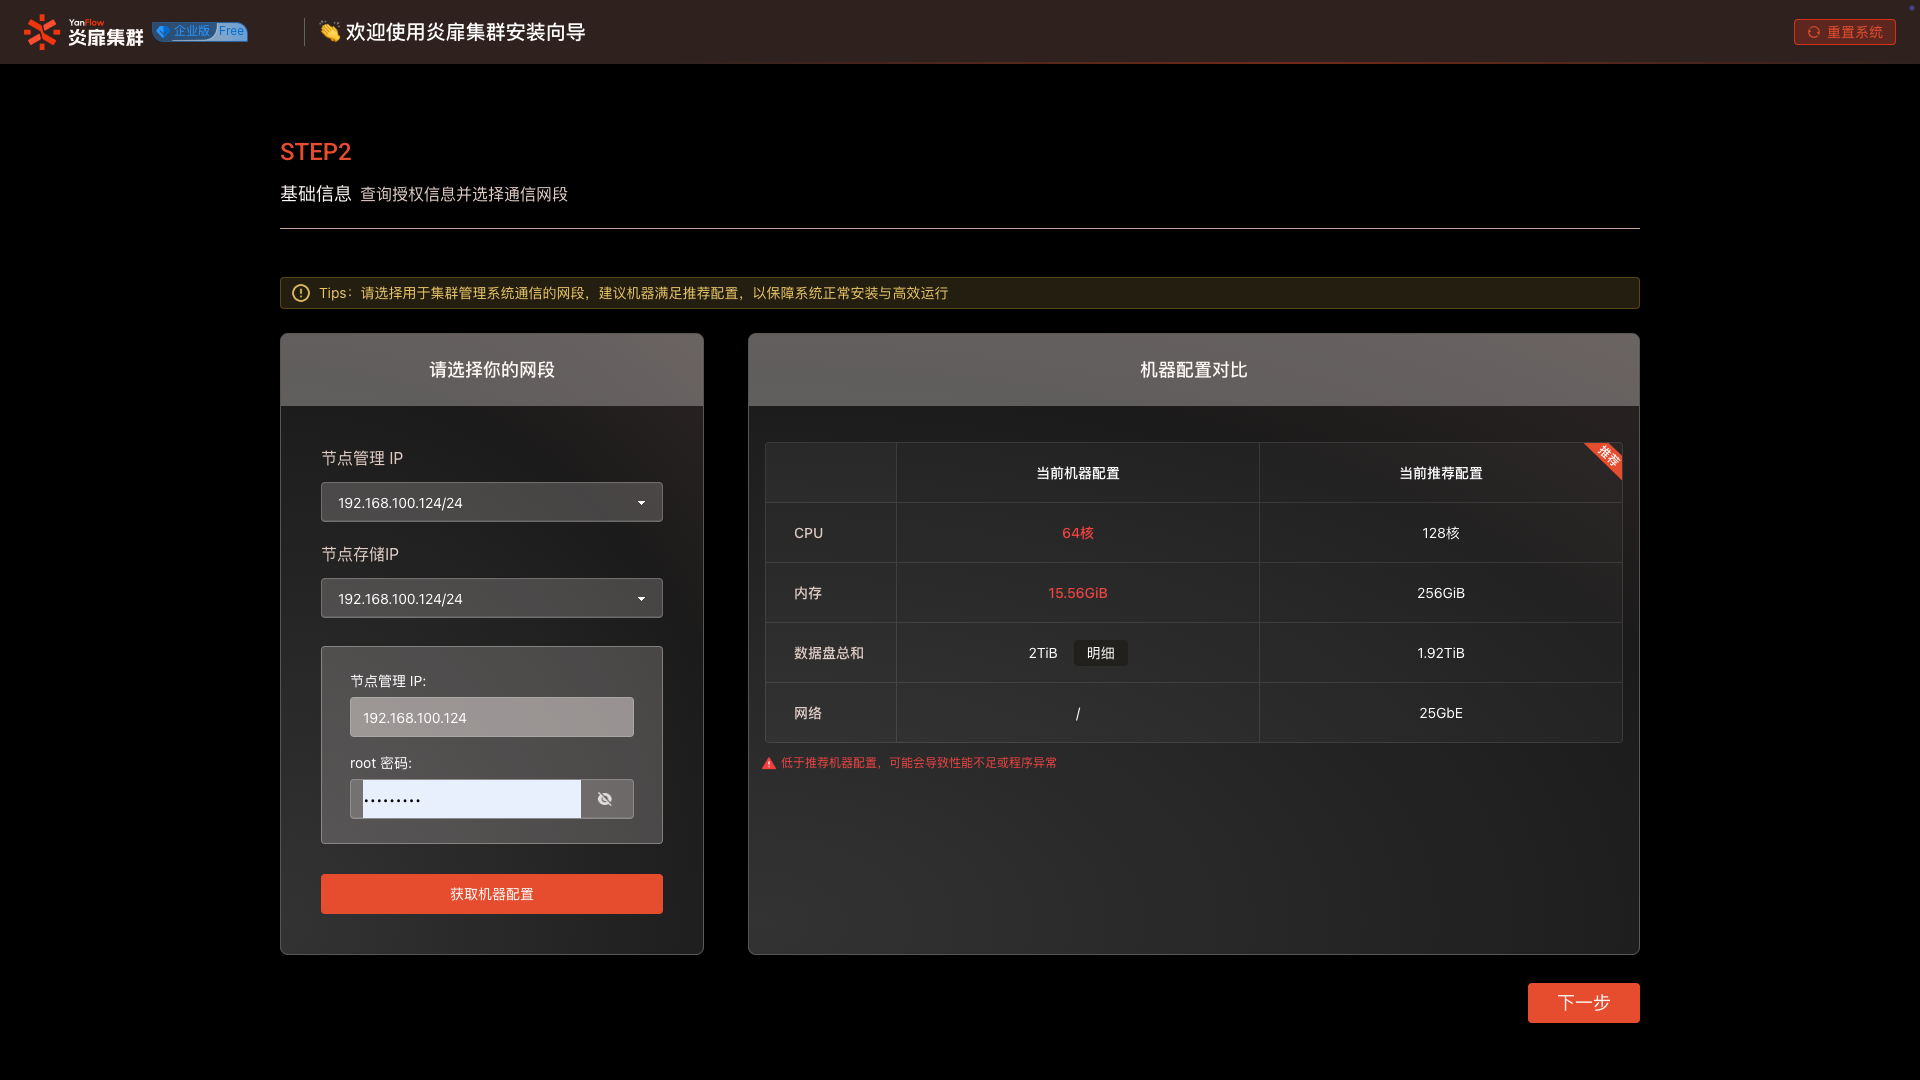
Note: If the machine configuration is below the recommended standard, the installation program can still continue to run, but it may lead to limited system performance or unstable operation. To ensure the best user experience, it is recommended to upgrade to the recommended configuration.
Storage Configuration
After the storage service starts successfully, add nodes within the cluster according to the page prompts and your purchased authorization plan.
TIP
- Before adding other nodes, ensure the Management Node service is added and started successfully.
- Ensure that at least one
metaandstorageservice is enabled within the cluster.
Converged Architecture
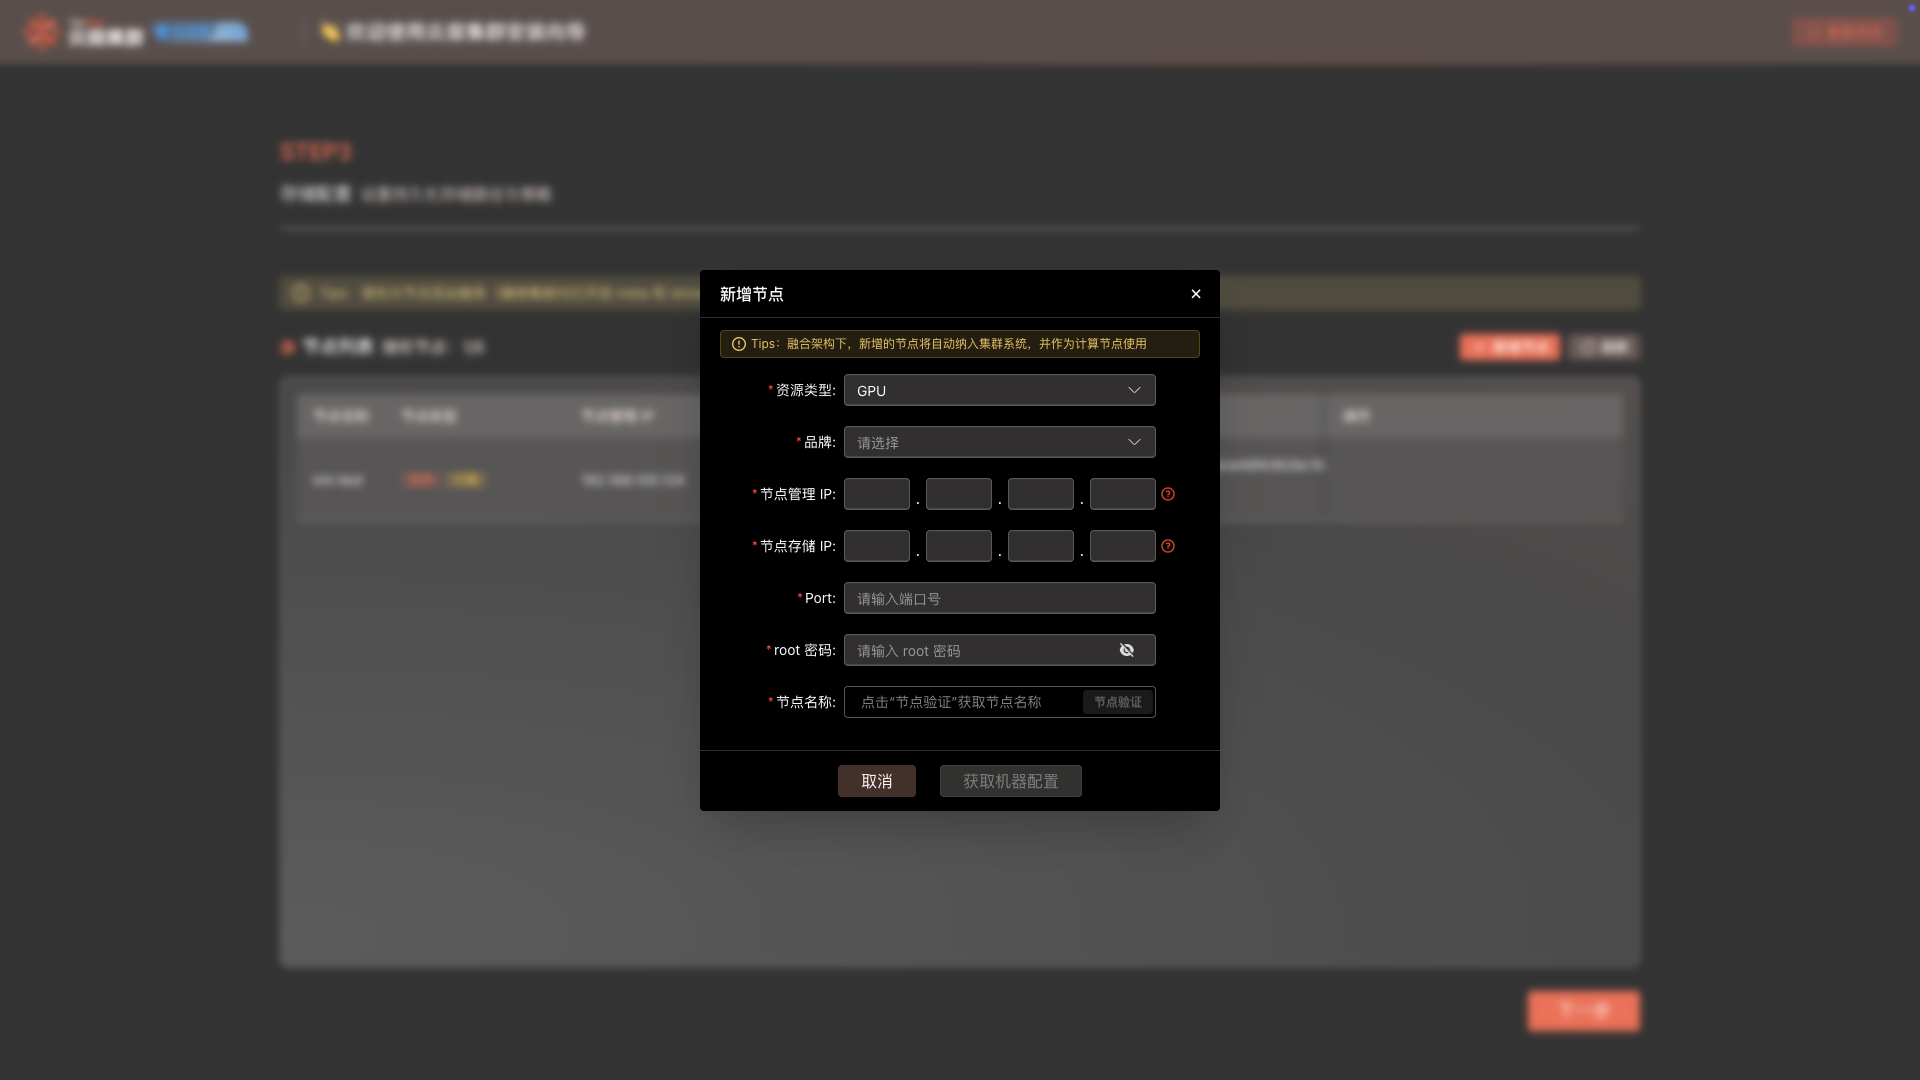
Add Node: Select Resource Type, Brand, enter IP, Port, root password, click the Node Verification button. After verification is successful, click the Confirm Add button. After passing the check, a new node can be created.
Note:
- Under the converged architecture, newly added nodes will be automatically included in the cluster system and used as Compute Nodes.
- Under the converged architecture, the number of newly added compute nodes is limited by your purchased authorization quota.
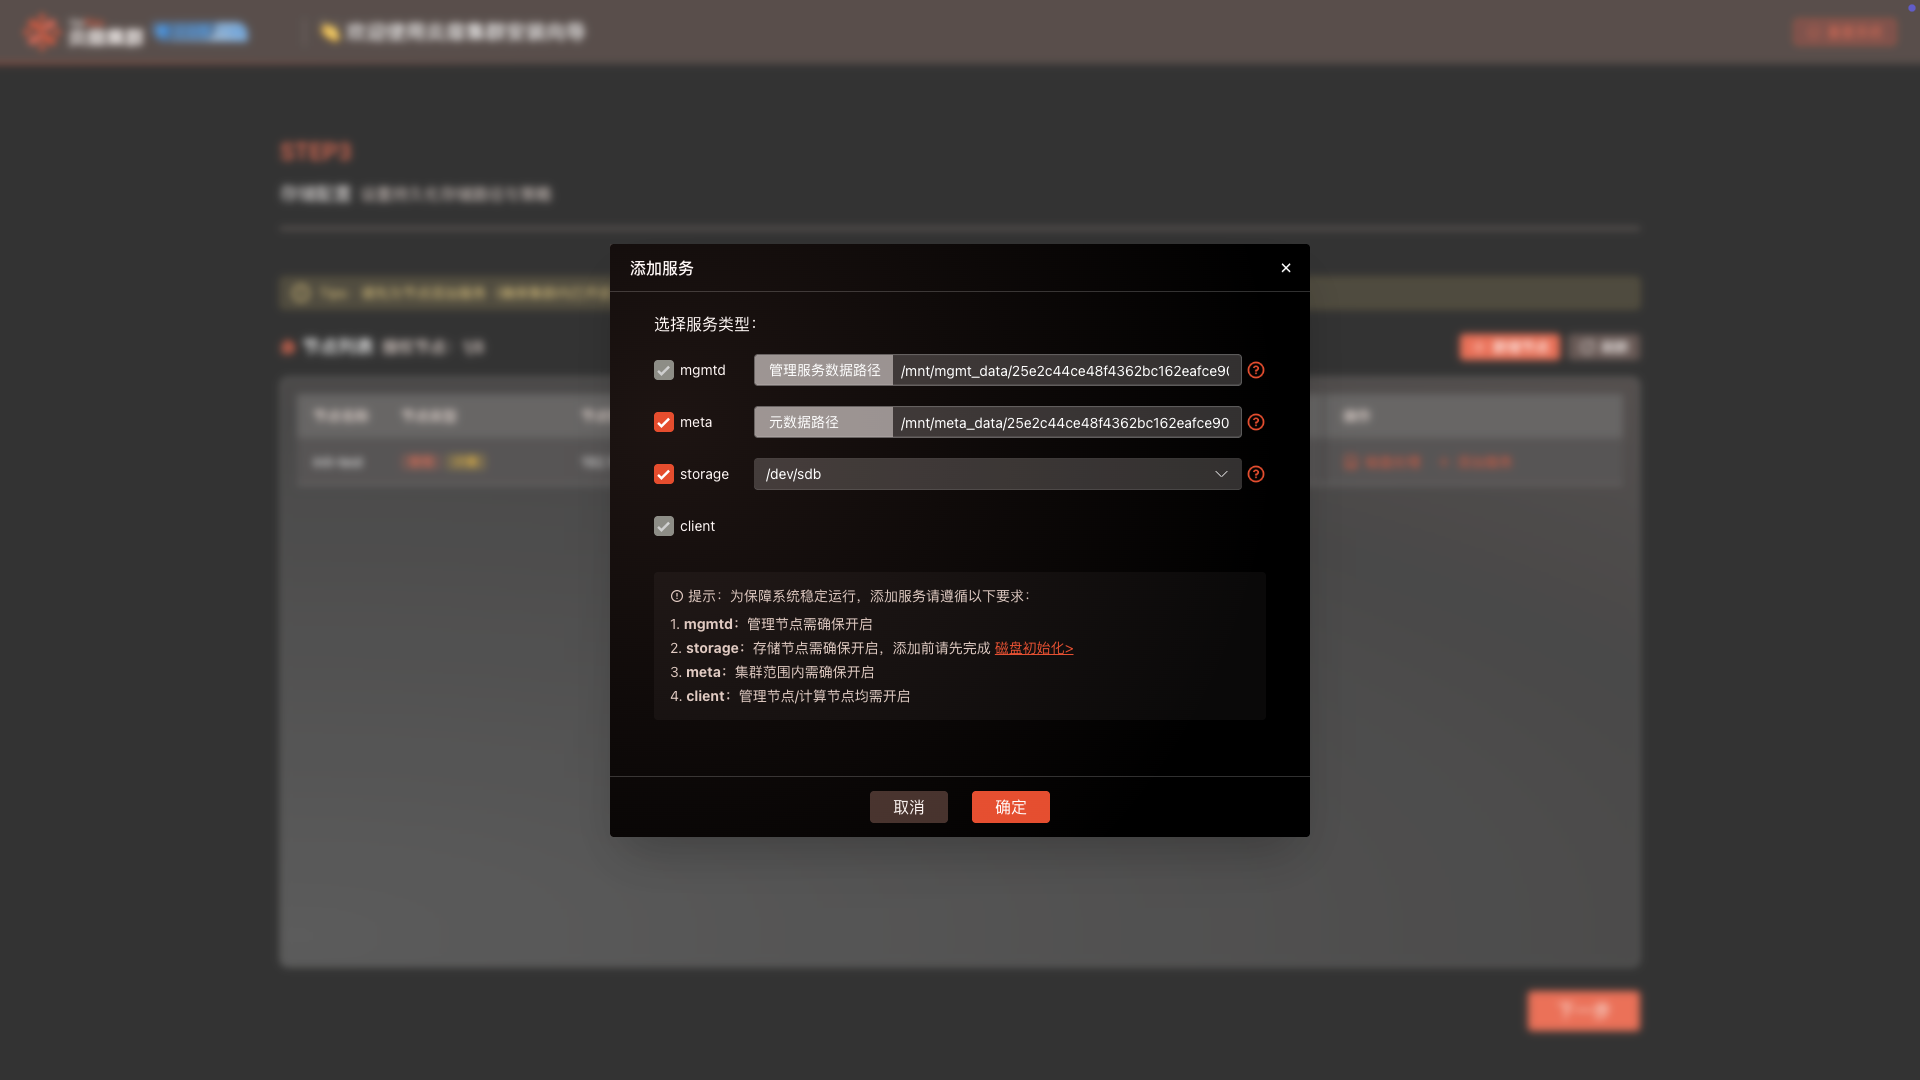
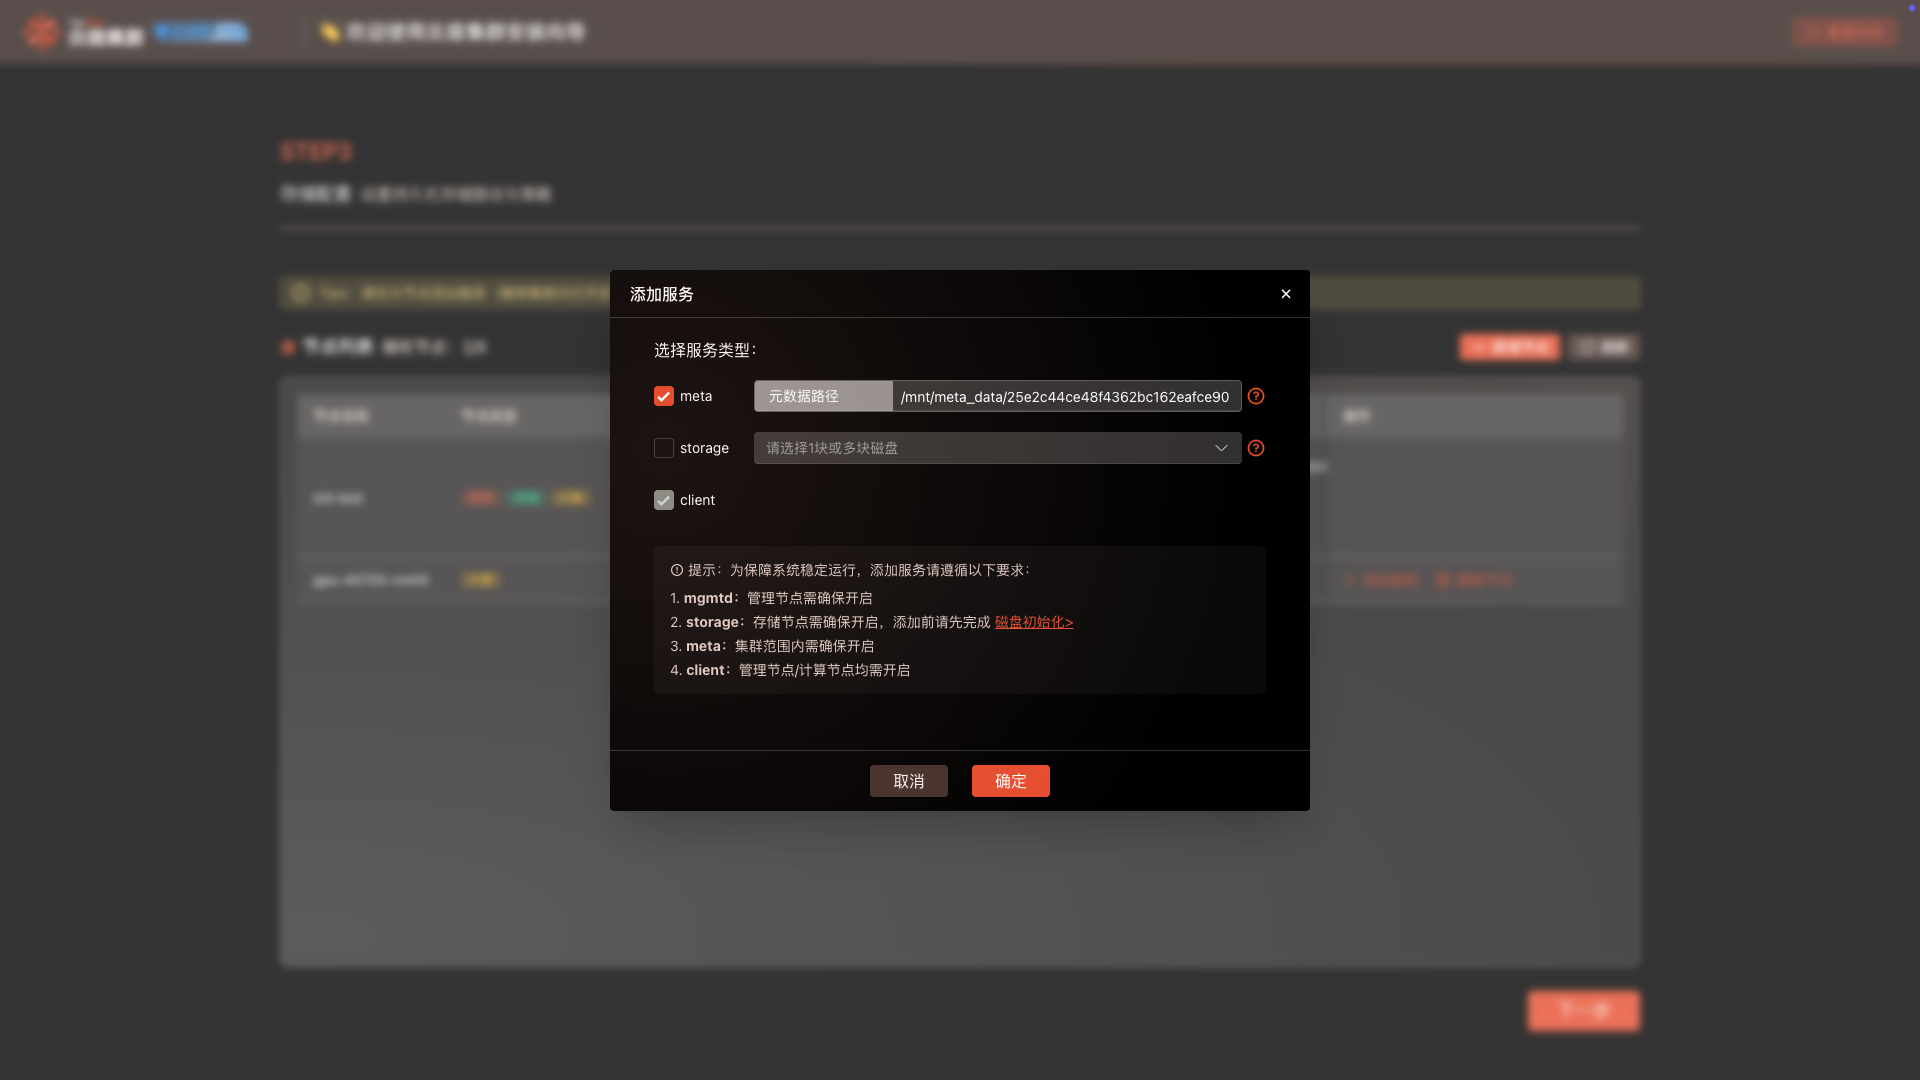
Add Service: Click the Add Service button to start the required services within the node.
- Management Node: Select the services required for the management node, click the
Confirmbutton to add and start the services (Must start mgmtd, client services).
- Compute Node: Select the services required for the compute node, click the
Confirmbutton to add and start the services (Must start client service).
Note:
- When adding the storage service, only disks in the Unused state can be selected.
- When a node adds the storage service, that node can be used as a Storage Node.
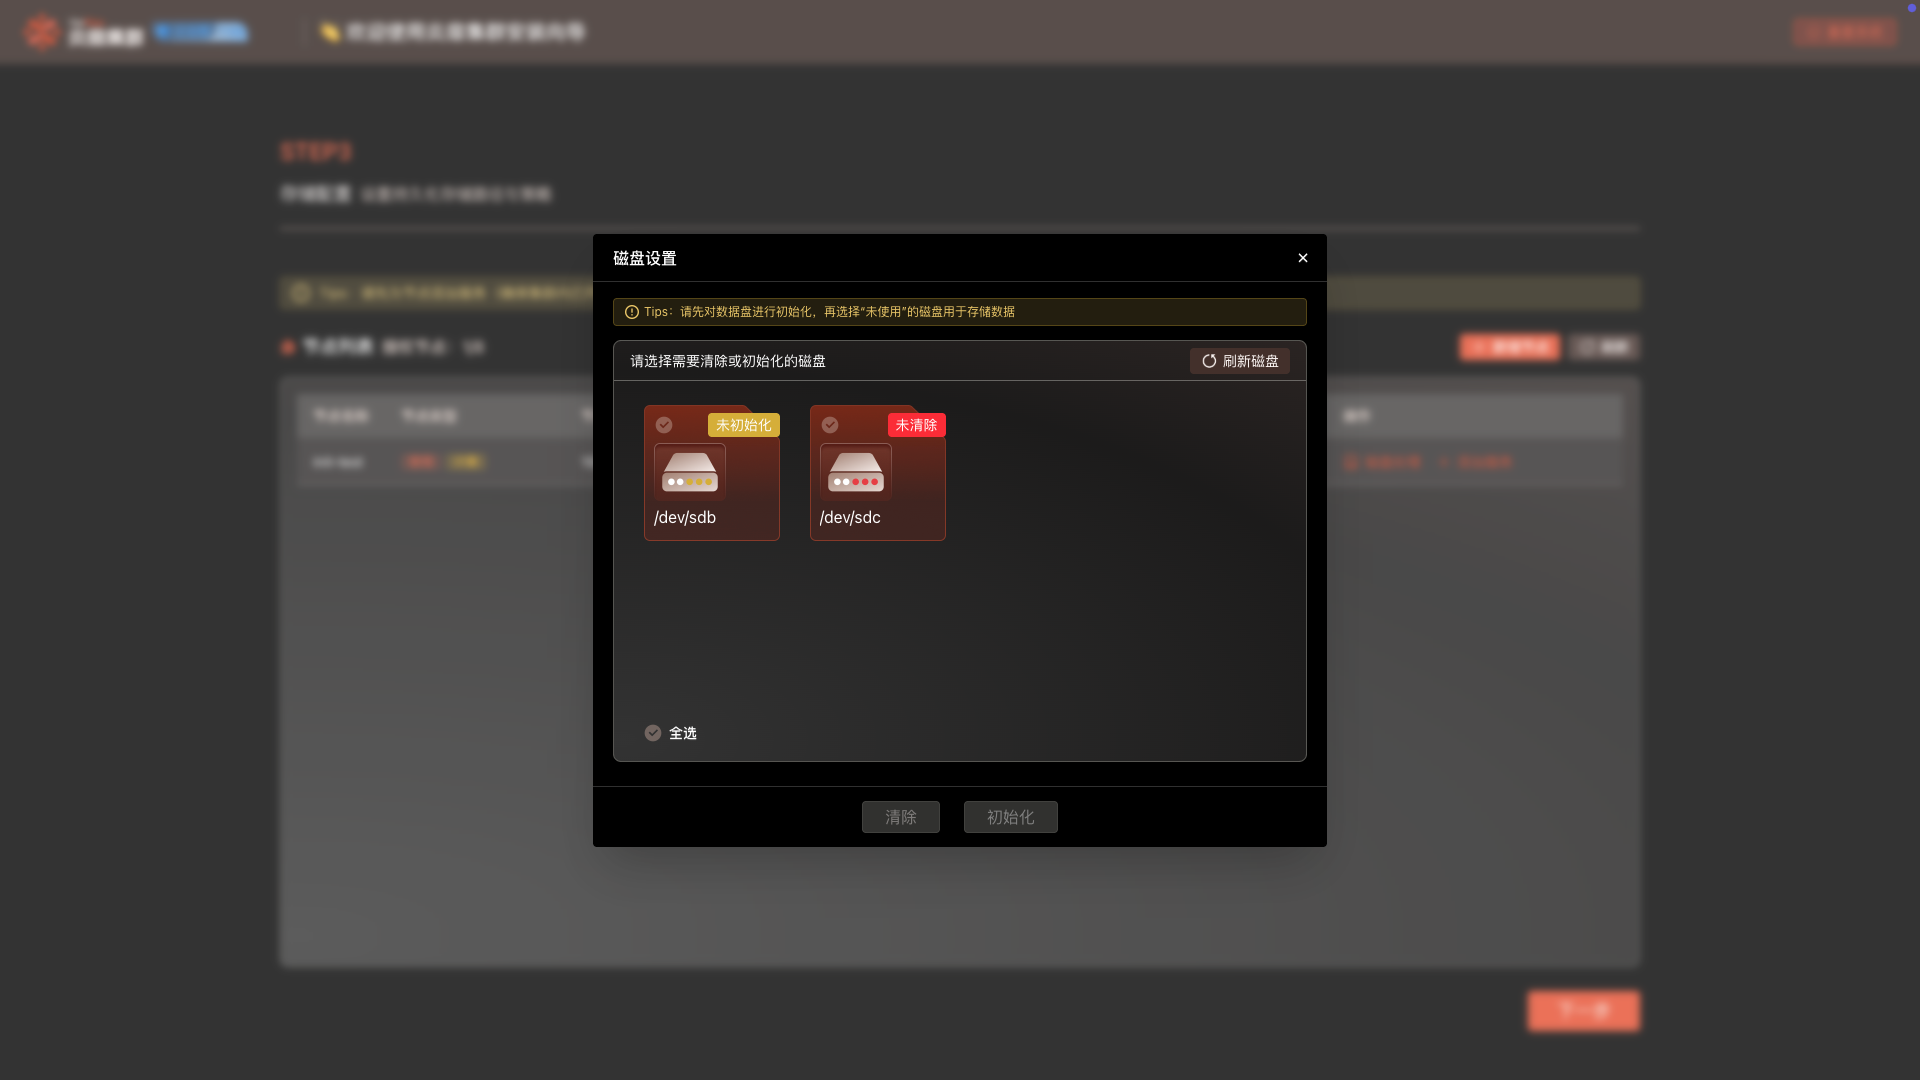
Disk Processing: Click the Disk Processing button to view the Data Disks within the node (System disks are not displayed).
- Clear: Select disks in the Uncleared state, click the
Clearbutton to clear the disk, and the status changes to Uninitialized. - Initialize: Select disks in the Uninitialized state, click the
Initializebutton to initialize the disk, and the status changes to Unused.
Delete Node: Click the Delete Node button, a prompt pop-up will be displayed. Click the Confirm button to delete the node.
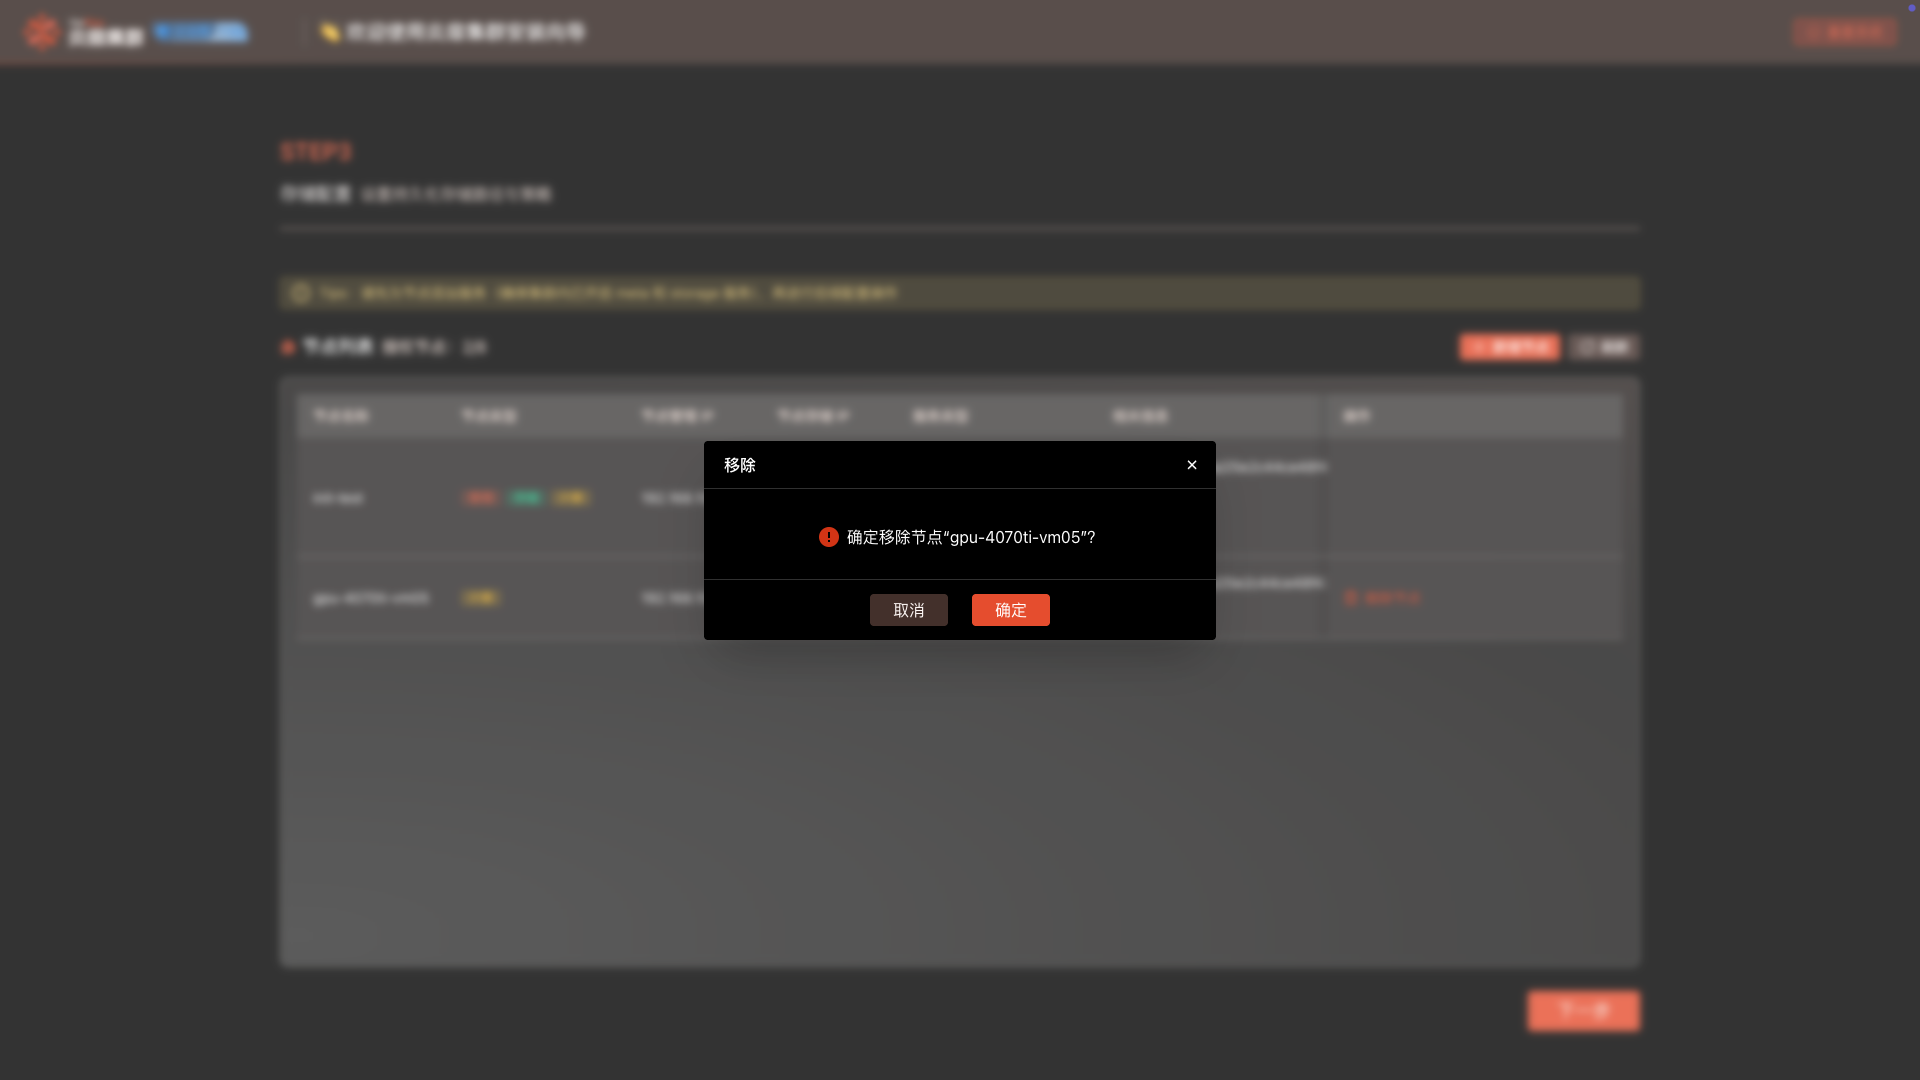
Note: The current Management Node cannot be deleted; only other nodes can be deleted.
Professional Architecture
Add Node: Enter IP, Port, root password, click the Node Verification button. After verification is successful, click the Confirm Add button. After passing the check, a new node can be created.
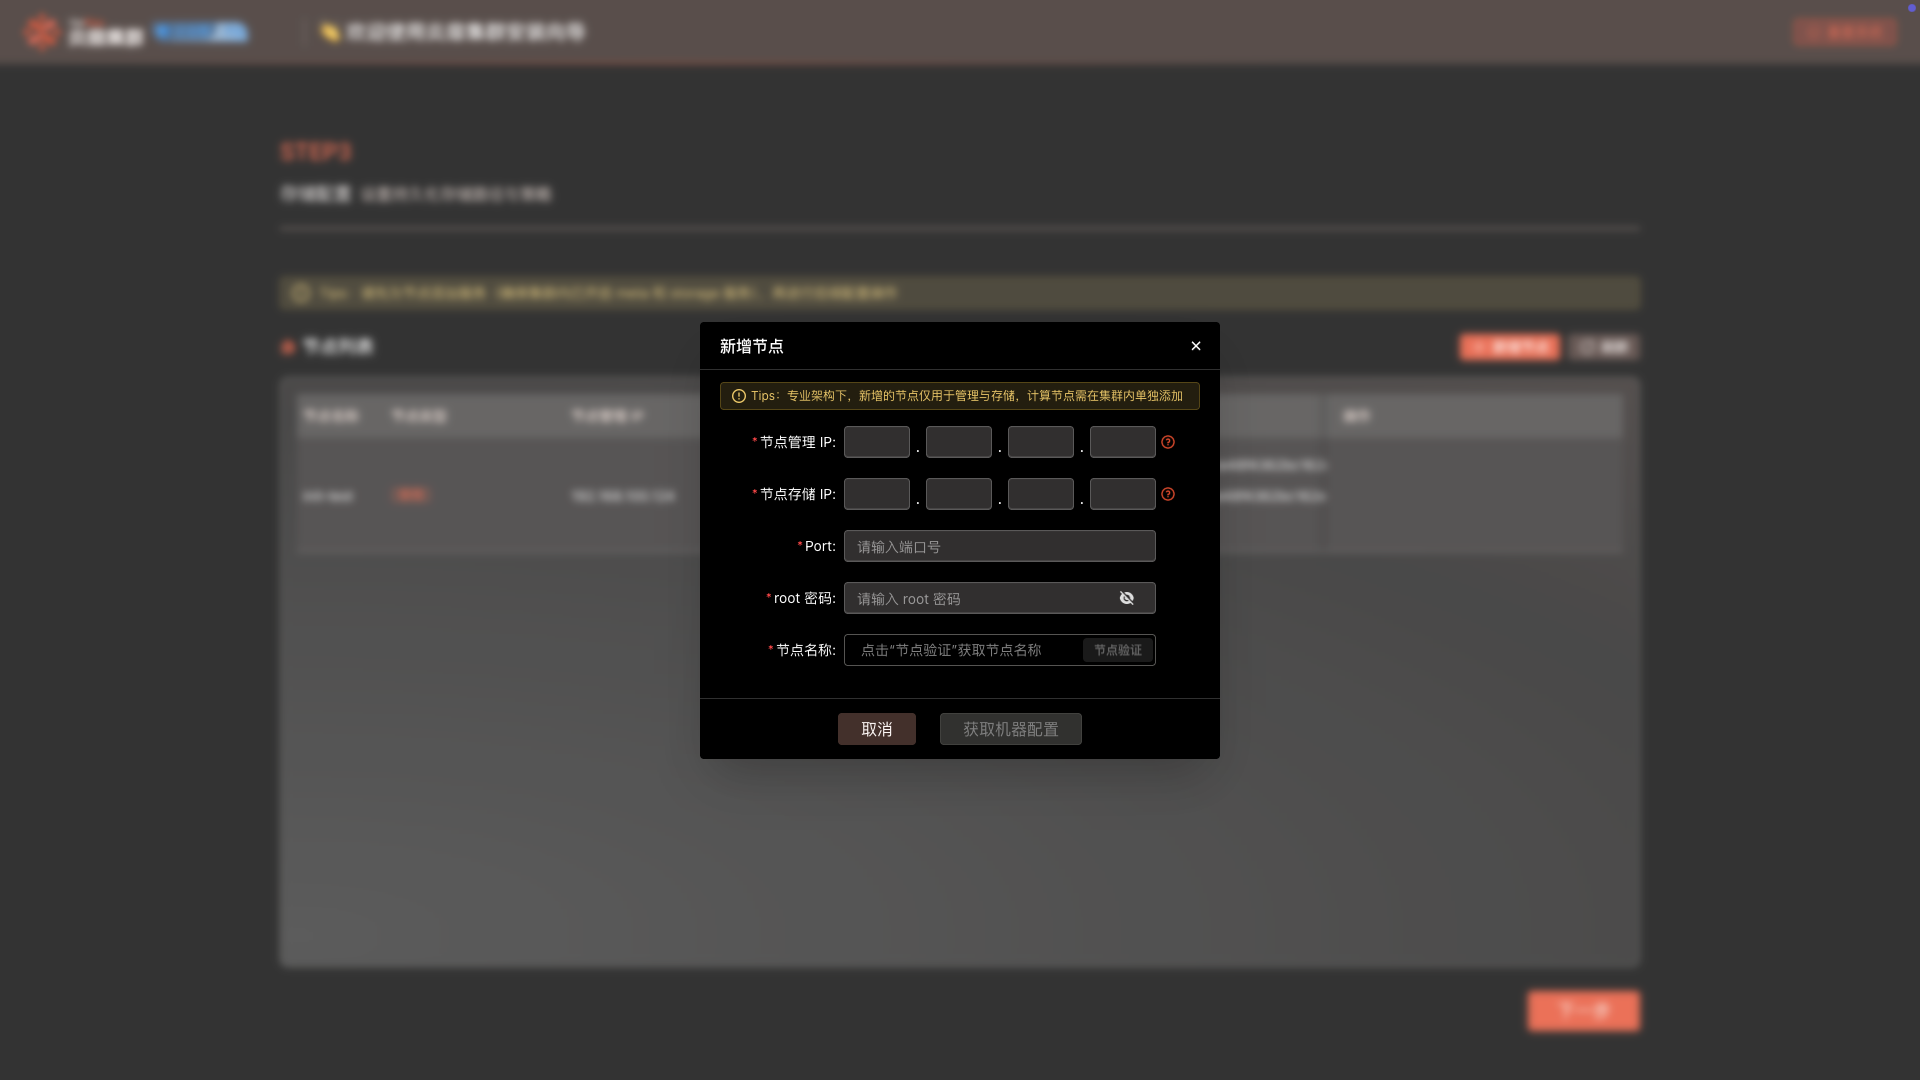
Note:
- Under the professional architecture, management and storage nodes need to be added separately within the cluster.
- Under the professional architecture, the number of newly added storage nodes is not limited by your purchased authorization quota. The authorization quota only applies to compute nodes for statistics.
Add Service: Click the Add Service button to start the required services within the node.
- Management Node: Select the services required for the management node, click the
Confirmbutton to add and start the services (Must start mgmtd, client services).
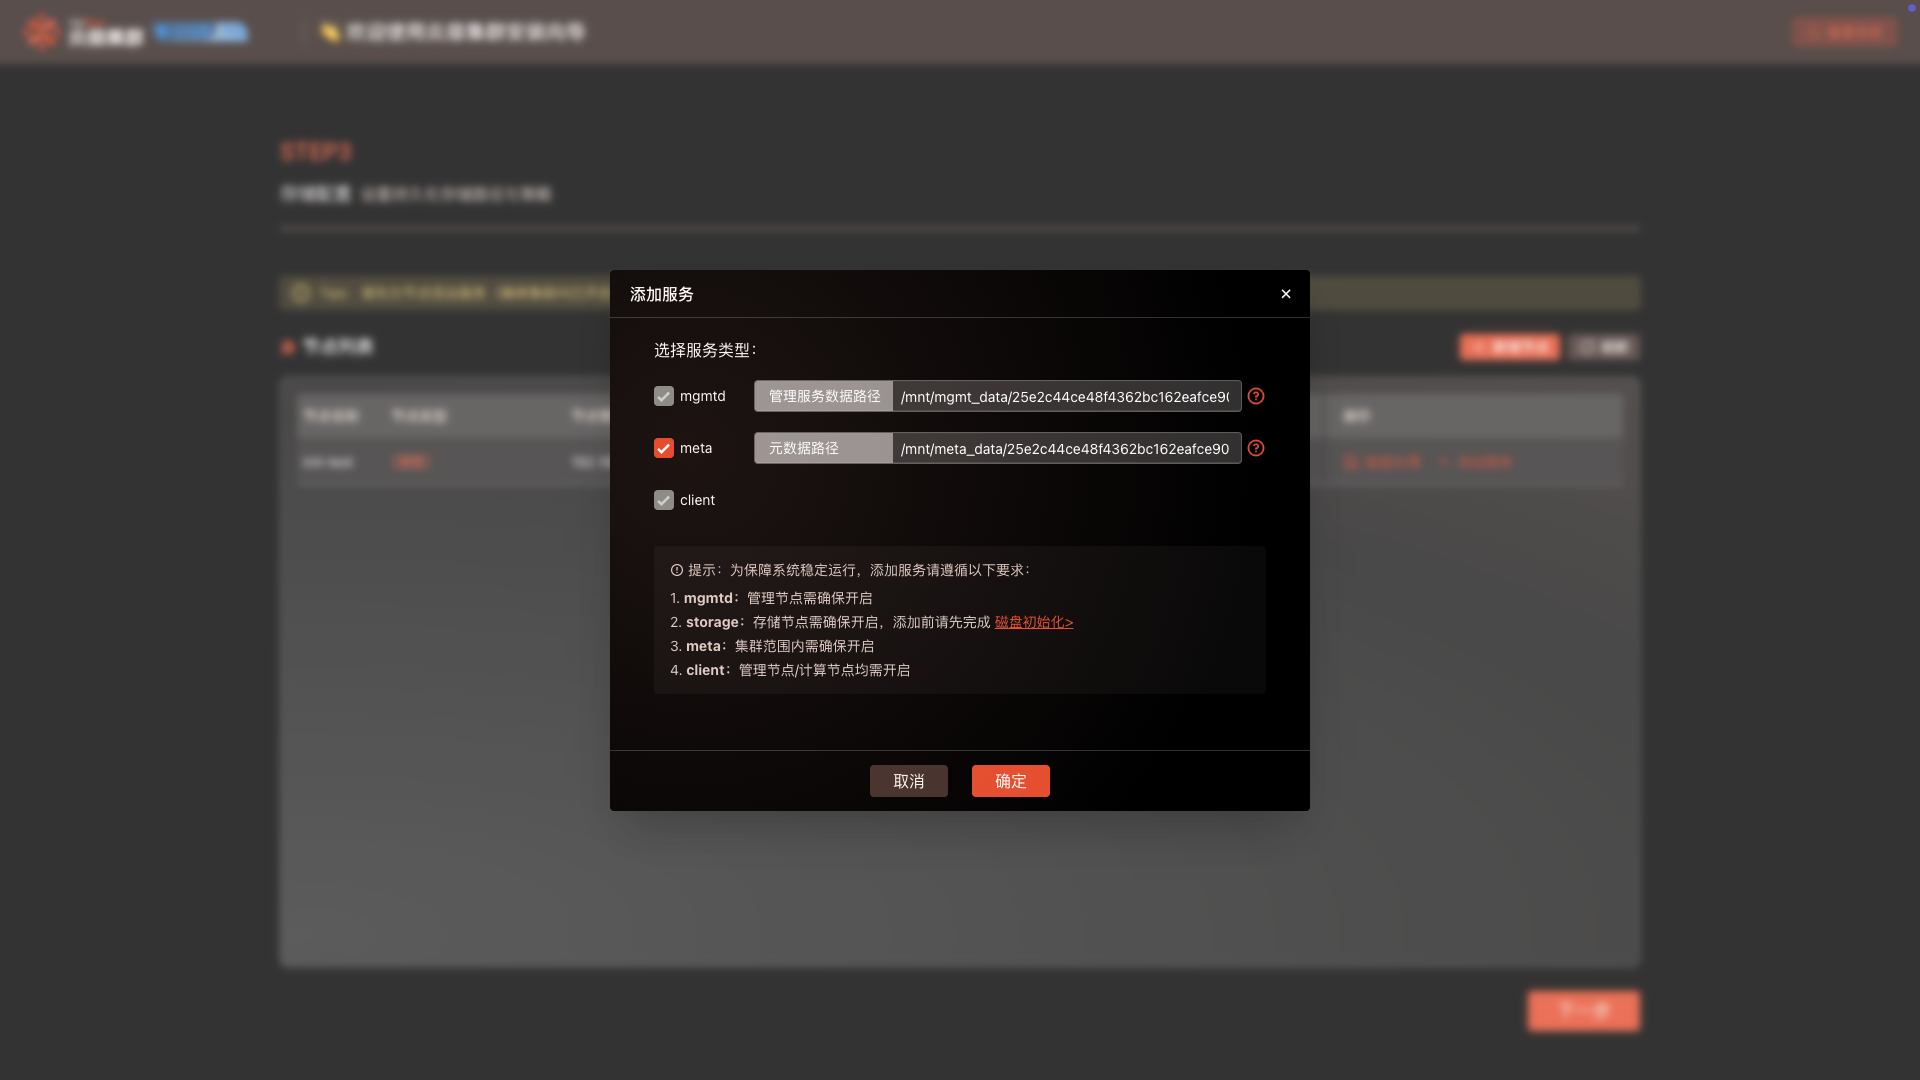
- Storage Node: Select the services required for the storage node, click the
Confirmbutton to add and start the services (Must start storage service).
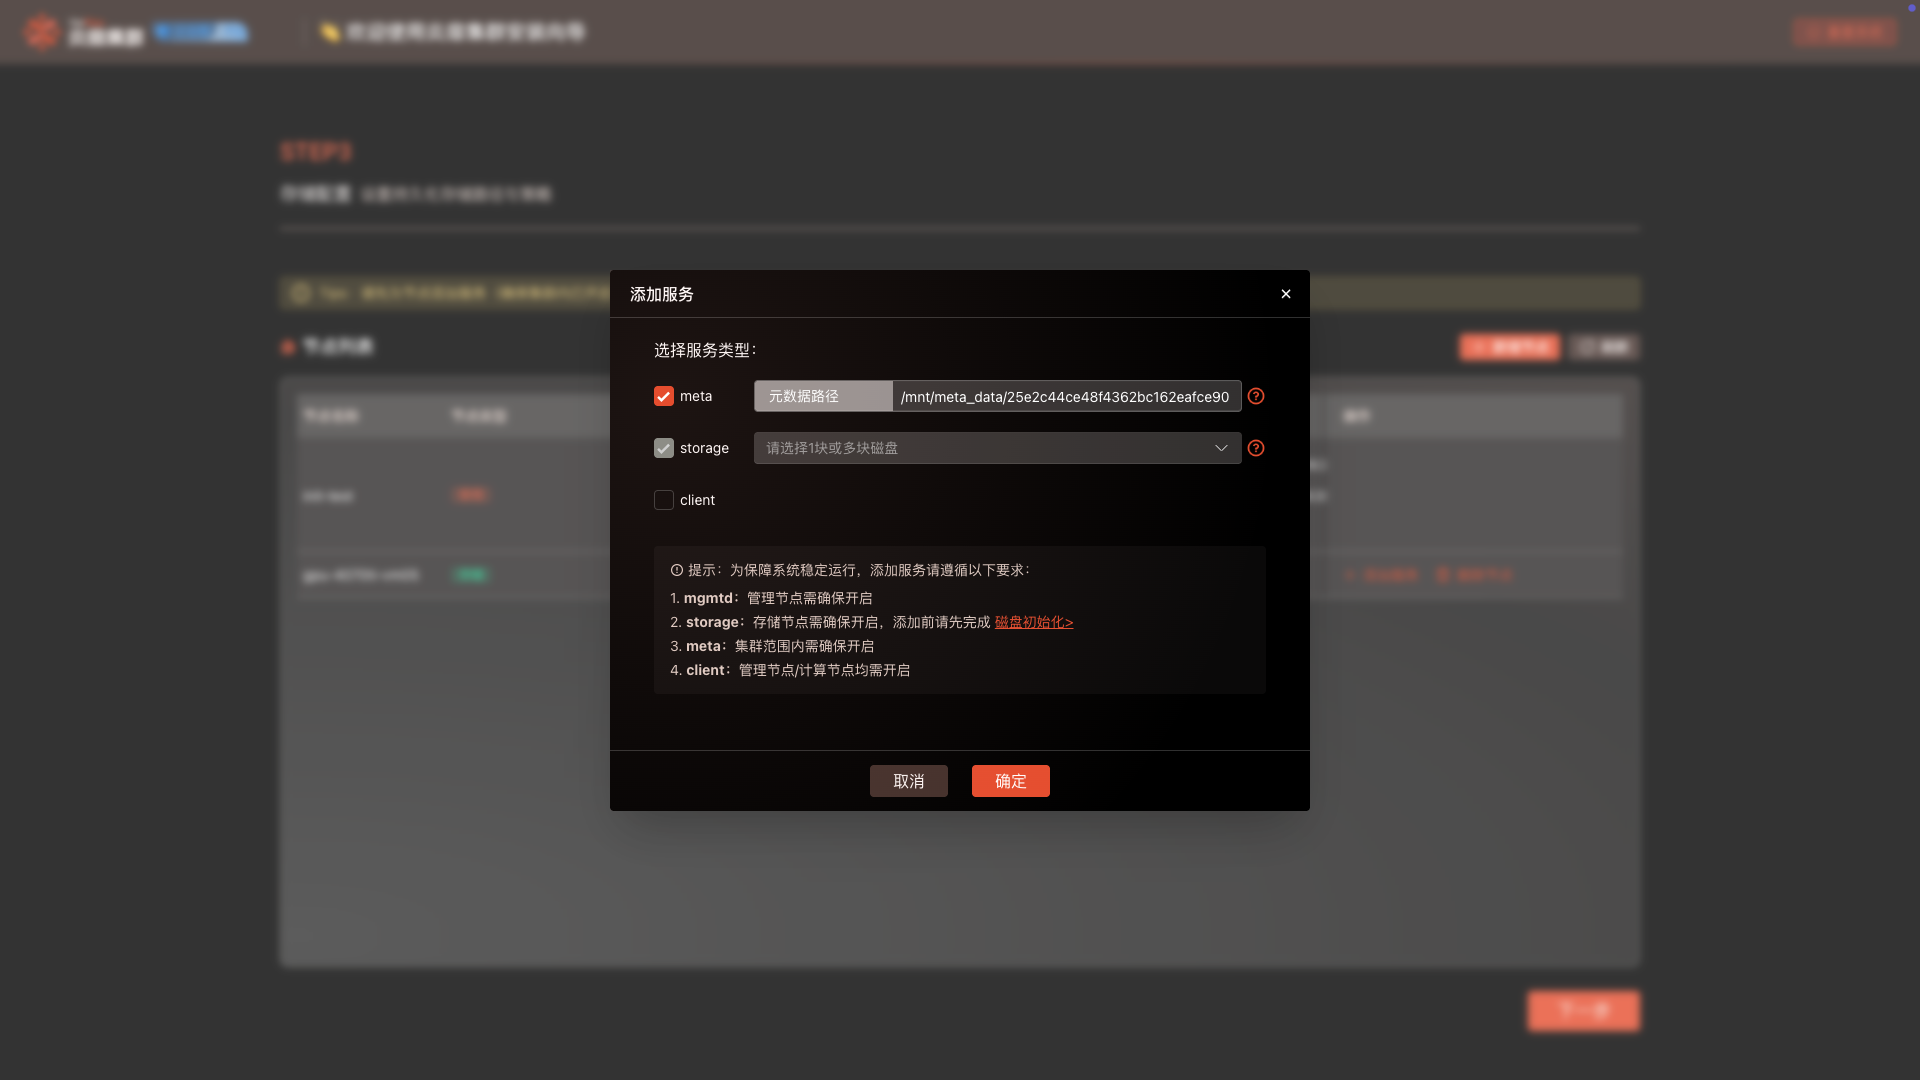
Note:
- When adding the storage service, only disks in the Unused state can be selected.
- Management nodes do not support adding the storage service.
Disk Processing: Click the Disk Processing button to view the Data Disks within the node (System disks are not displayed).
- Clear: Select disks in the Uncleared state, click the
Clearbutton to clear the disk, and the status changes to Uninitialized. - Initialize: Select disks in the Uninitialized state, click the
Initializebutton to initialize the disk, and the status changes to Unused.
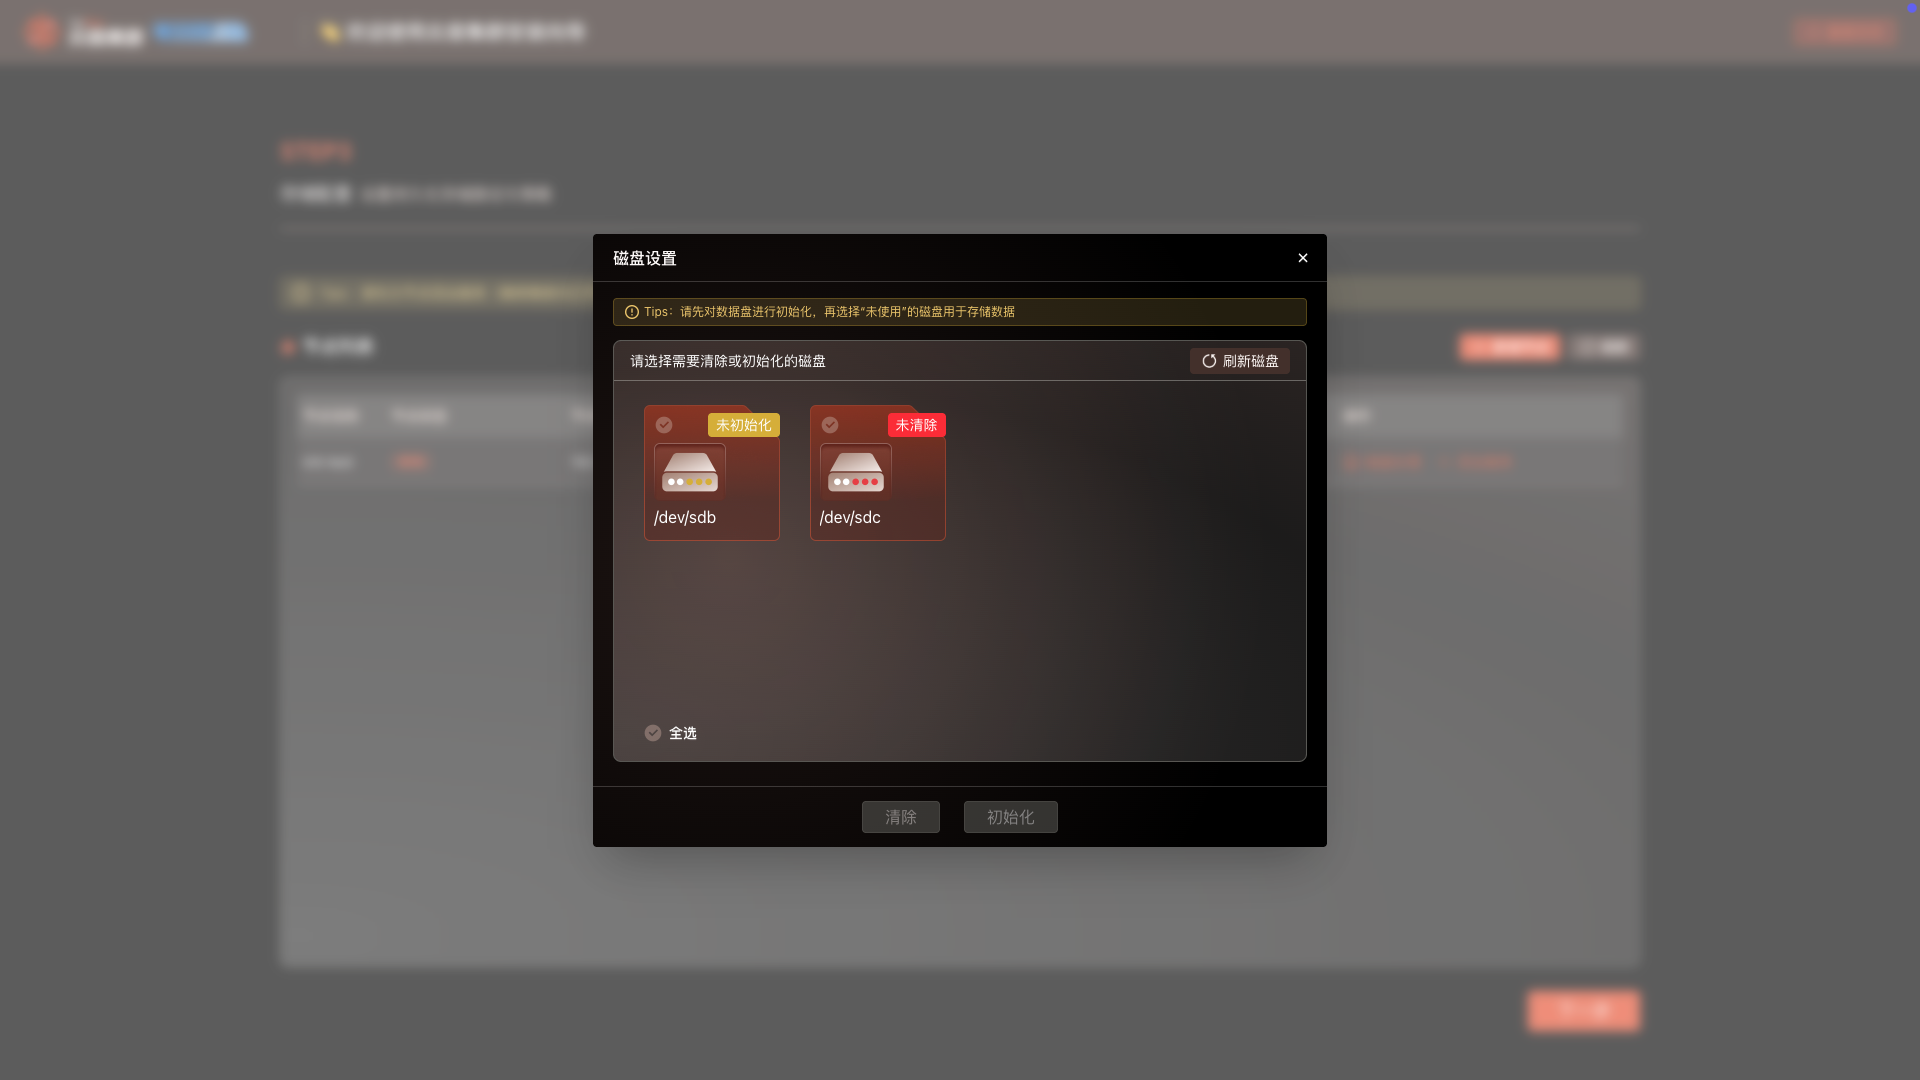
Delete Node: Click the Delete Node button, a prompt pop-up will be displayed. Click the Confirm button to delete the node.
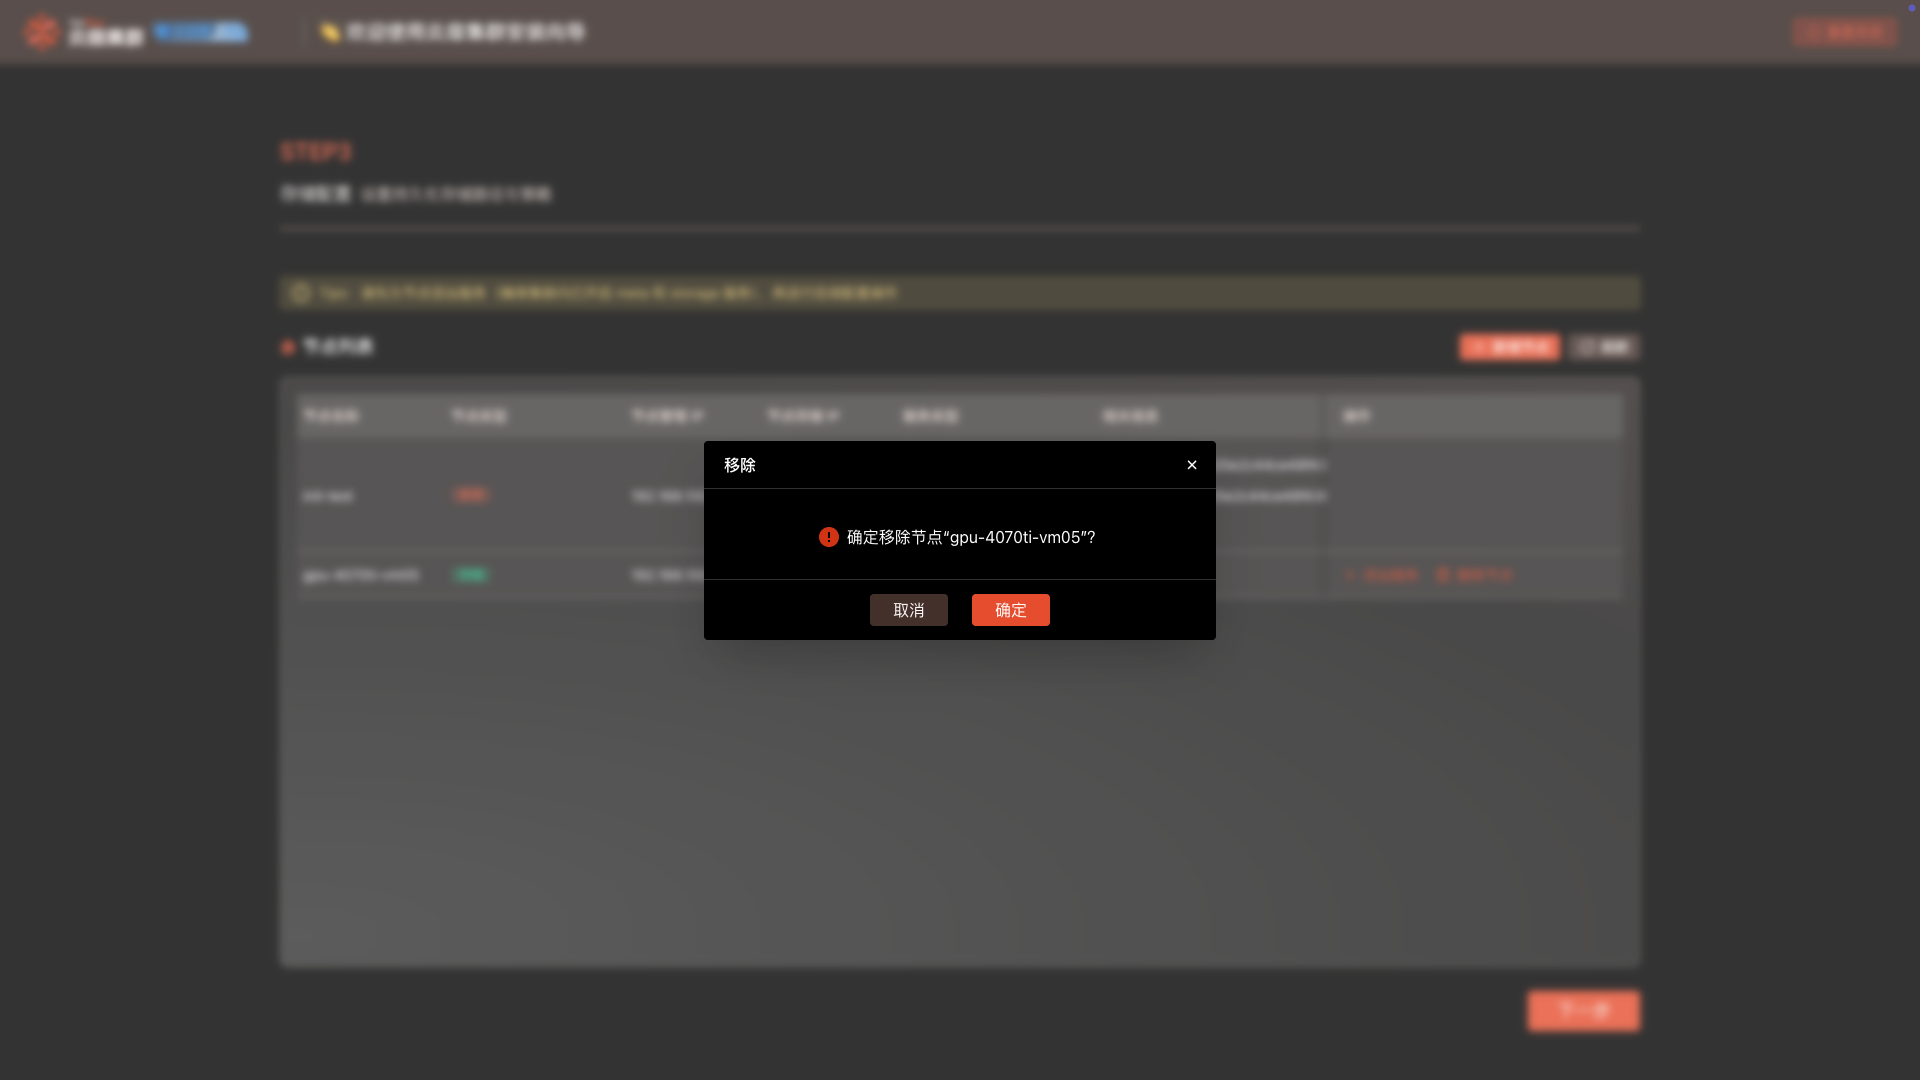
Note: The current Management Node cannot be deleted; only other nodes can be deleted.
Start Image Repository
The system automatically detects the image package. According to the page prompts, start the image repository service.
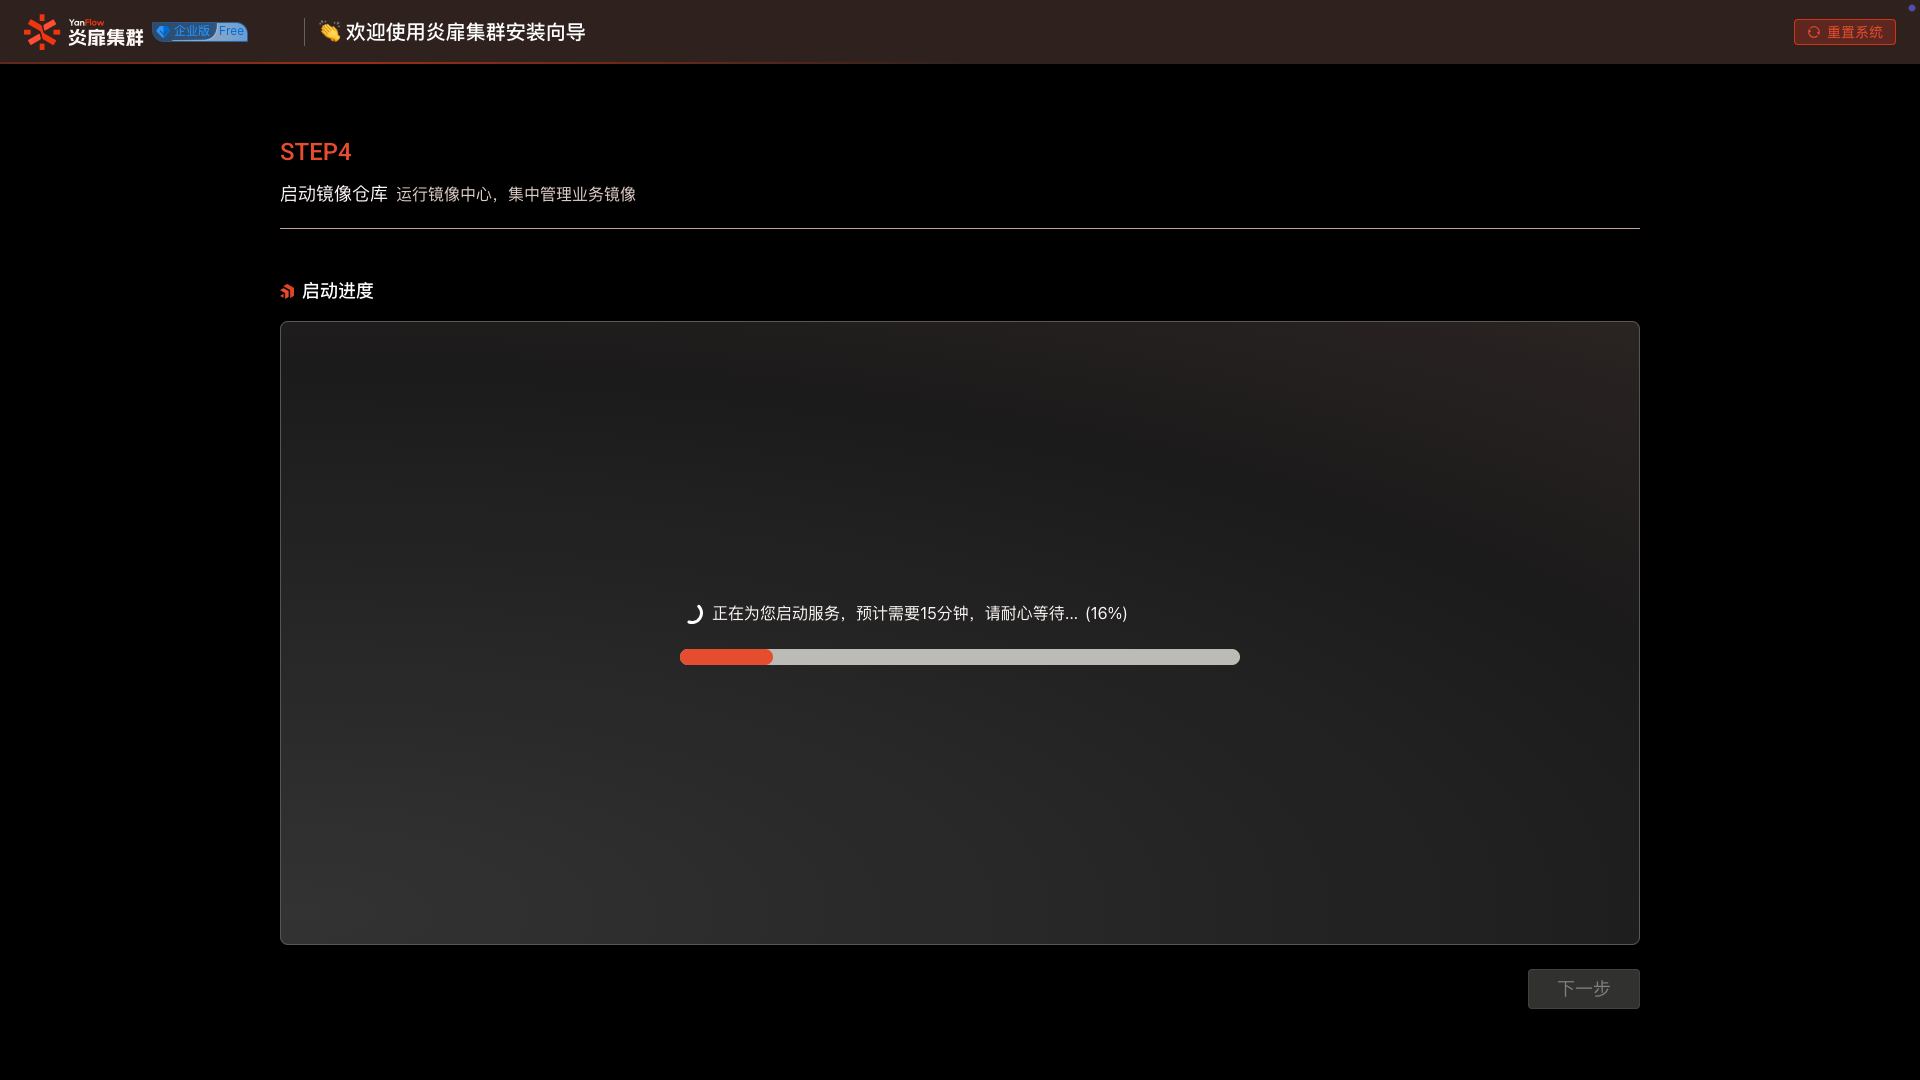
If the system detects no image package, you need to upload the image package to the specified directory according to the instructions. Use SFTP to upload the installation package to the path /root/tools/aigate/init/harbor. Click Get Image Installation Package.
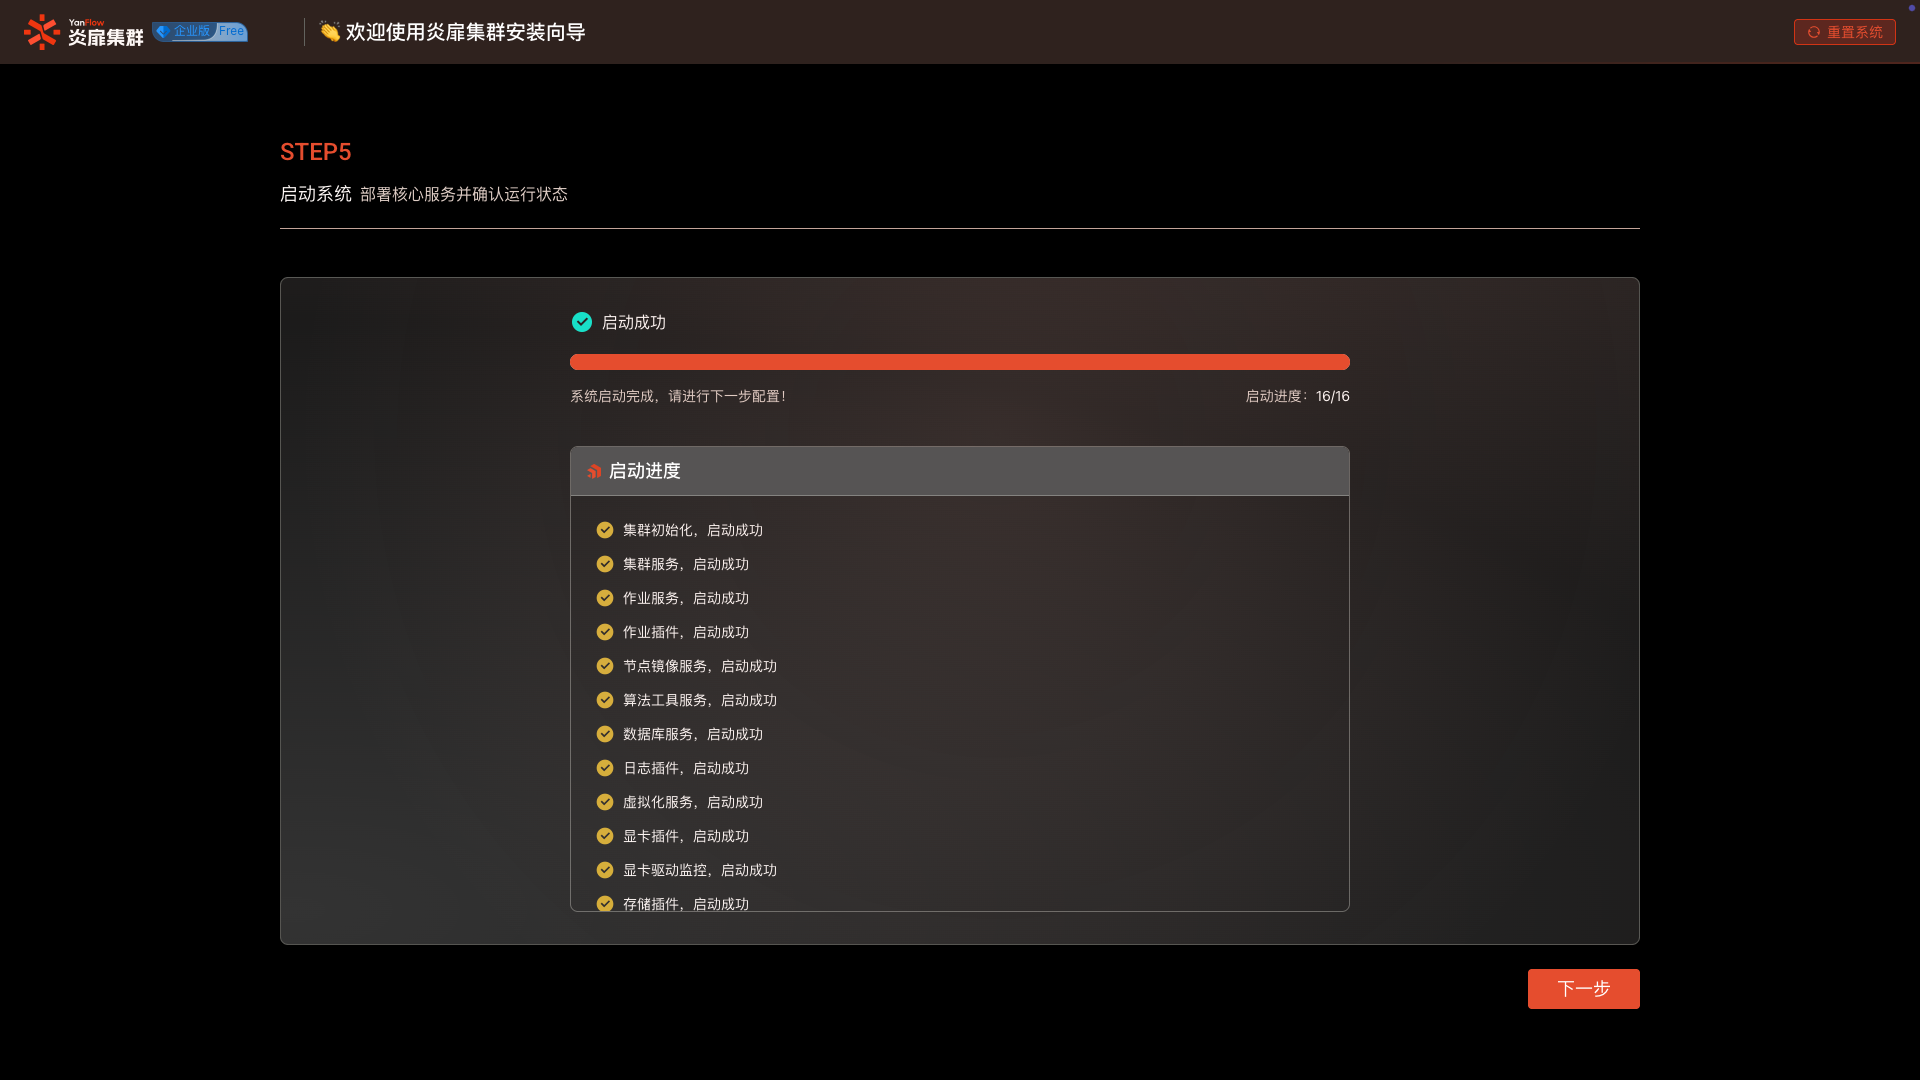
Start System
Wait for the service auto-start to complete.
Completion
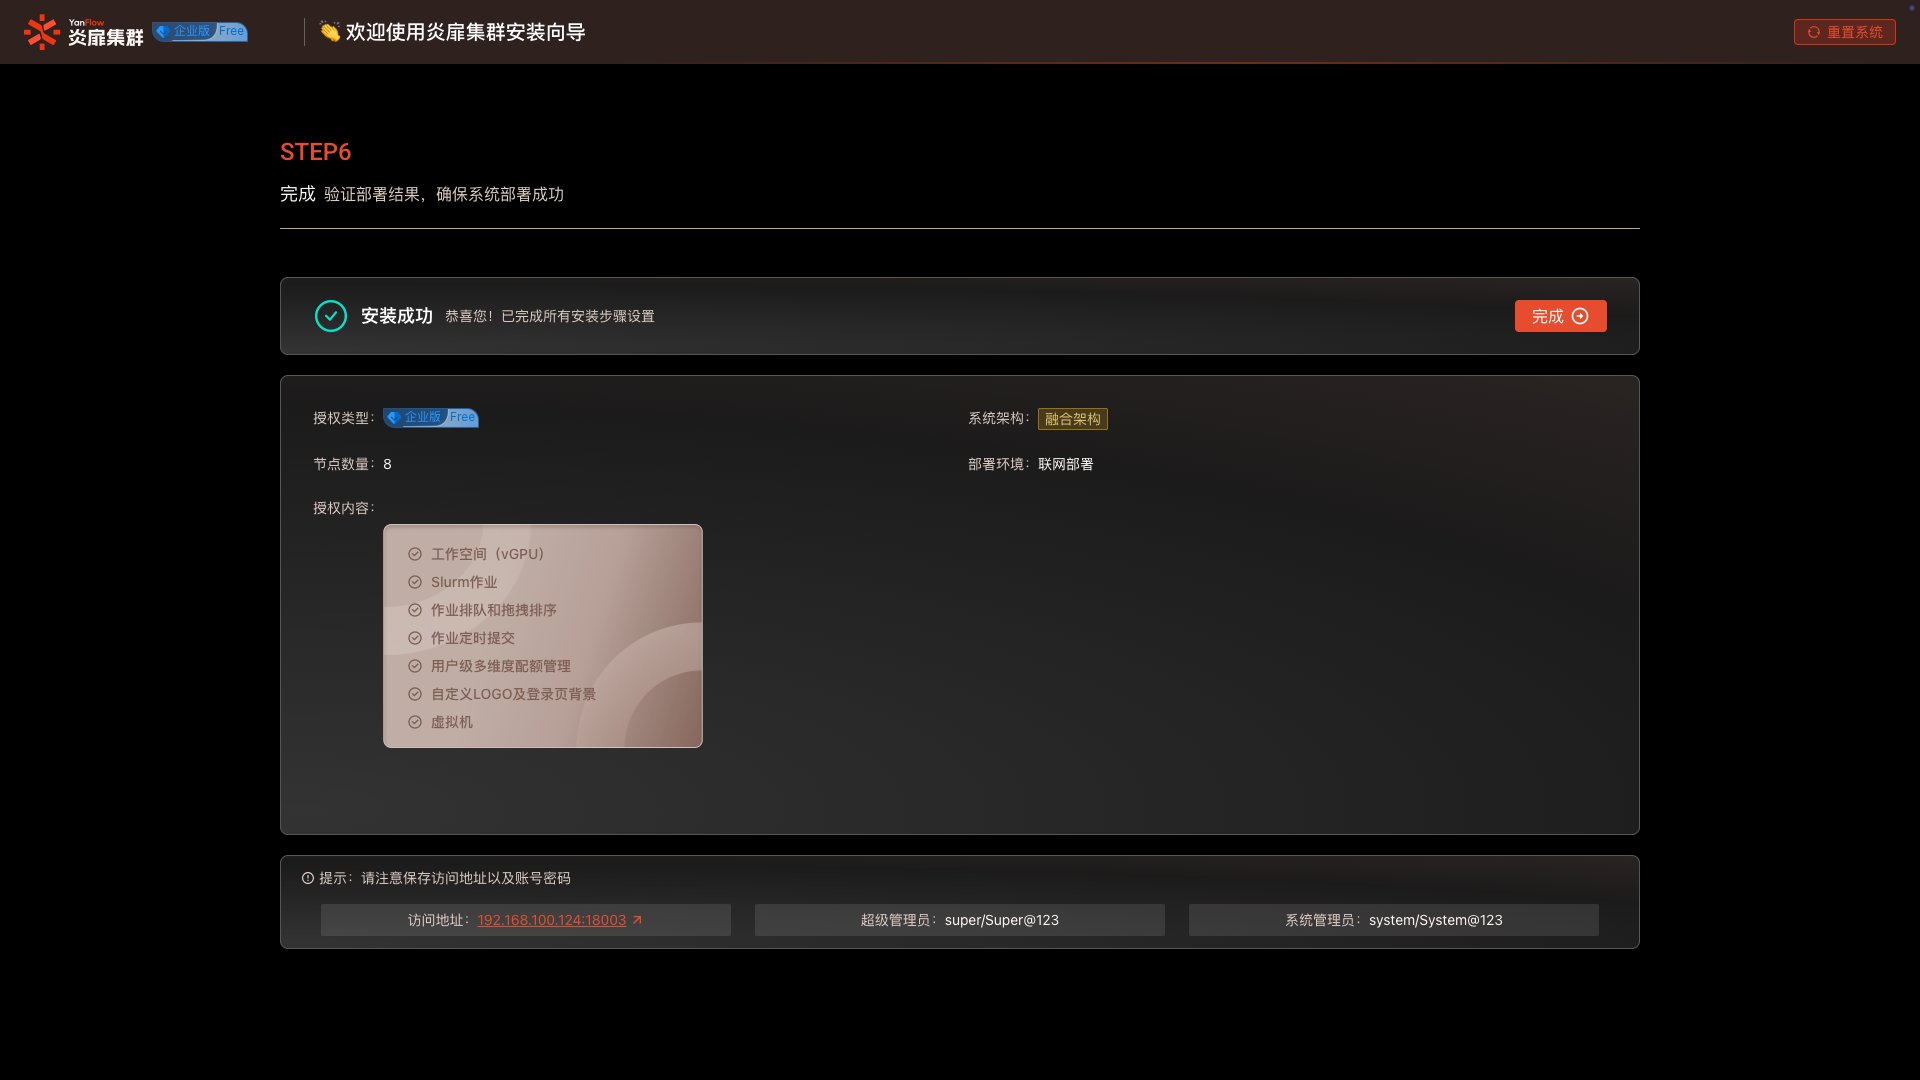
After the Yanfei Cluster deployment is complete, you can click Complete or Intranet Address to quickly access the system.